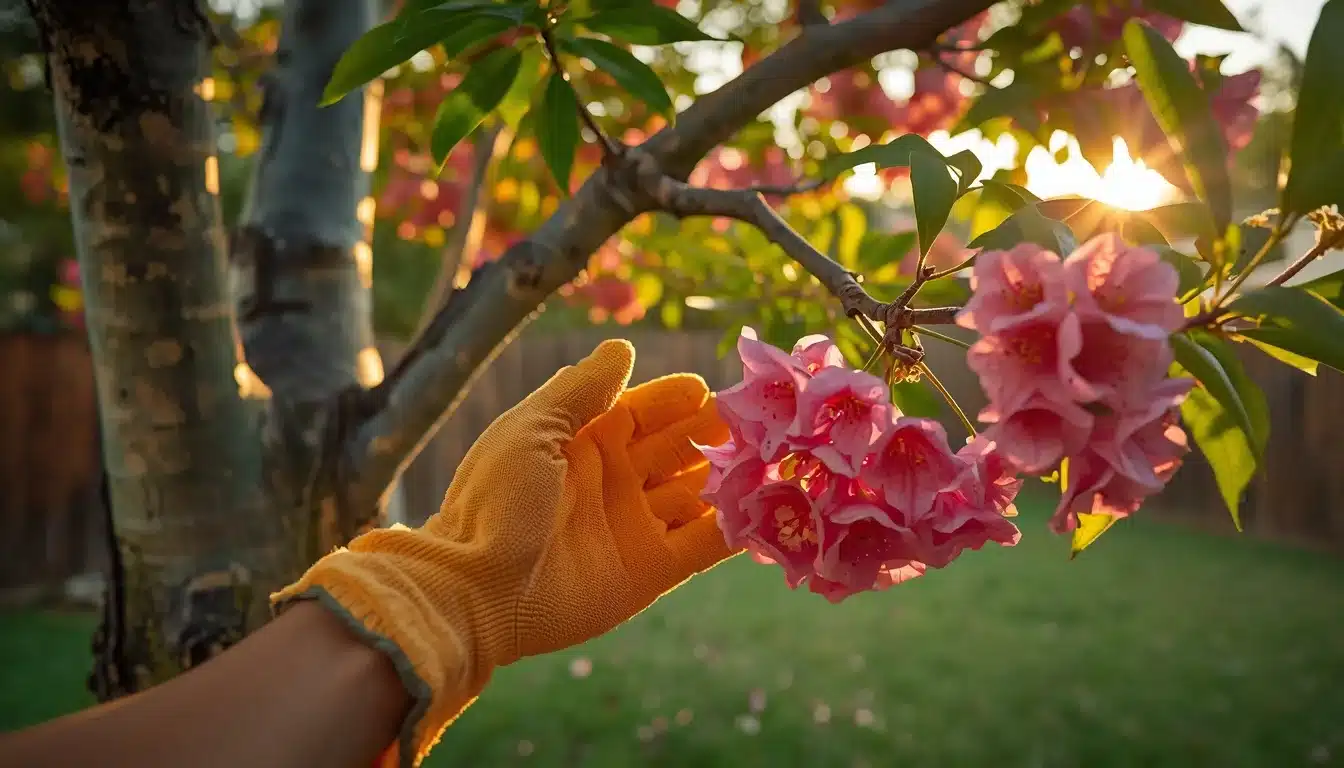
15 Tips For Hydrangea Care in Spring
After a bleak and blank winter, reviving the Hydrangeas to a summer exuberance takes effort, especially if you have been diligent about maintaining your shrubs during the coldest months. From the count of blooms, the vivacity of their colors, to how strongly the plants will hold the weight, much of this will depend on how much attentive care you take in spring. The steps are nothing extraordinary, involving measures like cleaning, fertilization, watering, pruning, preparing, composting, and mulching the base, and so on. But they require a special approach targeting early wake-up and increased growth.
Mastering my decade of experience of growing and nurturing Hydrangeas on my front lawn, bringing them into their pure blue, warm violet, and lively pink hues every time after a frosty December, I intend to make this blog as helpful as possible. Here, you will find me elaborating on
- Why Your Usual Care Routine Won’t Work in Spring
- How to Care for Hydrangeas in the Spring for a Prolific Reawakening
- What are the Don’ts You Must Check to Harvest the Dos
Why Do Hydrangeas Need Special Care in Spring?
Hydrangeas shed leaves at the first hint of cold in the air. Highly deciduous and hydroholic, they go dormant in winter, stopping most of their biological activities to reduce water and energy consumption. Though they are also fast to respond to the moist breeze of spring, bulging in new buds and leaves. Ensuring steady growth needs expert hands. Why?
High Nutrition Intake: Natal shoots, branches, and leaves require energy. A revival, as a phase, matches the demand for support and energy of a newborn plant. Moreover, unlike a budding plant, they don’t get a prepared soil bed, instead one that has lost its life source to the frost. So, recomposting soils, injecting major and minor nutrients to the surface, and recreating a nurturing environment is unavoidable.
Sensitivity to Changing Climate: Initial growths are reassuring but not reliable. A slight fluctuation of the temperature can destroy early come-outs, delaying or threatening an optimistic summer harvest. An ideal care routine addresses this with supportive and preventive strategies. So the fragile extensions can hang on their spots and live long to bloom.
Imbalanced Growth and Asymmetry: Repressed energy, chambered at every foliage and root meristem outbursts with the weather becoming favorable again. It triggers the birth of random and uncountable apical and axillary buds and nodes. If not trimmed and maintained on time, the resulting asymmetry will sting the eyes. As the surface will look odd with jumbled blooms here and there, leaving the rest of the vacant greens scream negligence.
Mixed and Less Catchy Colors: There are only 5 or around varieties of Hydrangea, and all of them glow in the purest shade of their colors. Mostly a crisp blue, pink, and violet. Anything in the middle or softened down is almost always a result of malnutrition or the use of certain chemicals as fertilizers. To get flowers in their brightest gleams, you need to handle the early growth in the spring rightly.
15 Tips For Hydrangea Care in Spring
So, what to do with Hydrangeas in the spring? Look at the naked dark branches rising upward like spears. Though intimidating, they are, in fact, awaiting an exciting transformation into colorful bouquets. With a caring hand, you can quicken the process, inviting the warmth of summer early on with healthy and fresh blossoms on your lawn. To help you, we suggest
You’d Better Hurry
Don’t let the starter burgeons carry you away. They appear in platitude, signaling a good plant condition, raising your hope. In most cases, they are false predictions and a fast response from the shrub after a long, subdued period. Utterly vulnerable, they will die and vanish without even showing any symptoms. To make sure that nothing likewise happens, you need to grab your garden scissors, pruners, and mulching forks the moment you feel the spring in the wind.
Unwrap the Frost Cover
Any true Hydrangea lover would pack their plants with anti-frost ribbons or papers. It’s how you care for Hydrangeas, saving them from frosting and drying out in cold wind. A thicker bandage increases the chance of survival. And waiting till the last frost-hit before unwrapping favors the first burgeons. Just hang on, keeping the package as is for a couple of weeks more. Only when you are sure of a warm, stable breeze, melting and clearing the surrounding ice, unpack your plants in it.
Clean Up the Surroundings
A nice place to kick-start your Hydrangea care spring routine is to brush away debris, pull out weeds, and scrape off slippery objects surrounding your plants. A neat bed shows you are all set for taking it to the next stage. It’s now ready for composting, with no obstacles to fertilizers and water seeping into deeper levels. Also, check for dead leaves stuck on the branches or any sign of wet, dead, or loose bark. These are breeding grounds for pests and deleterious microbes.
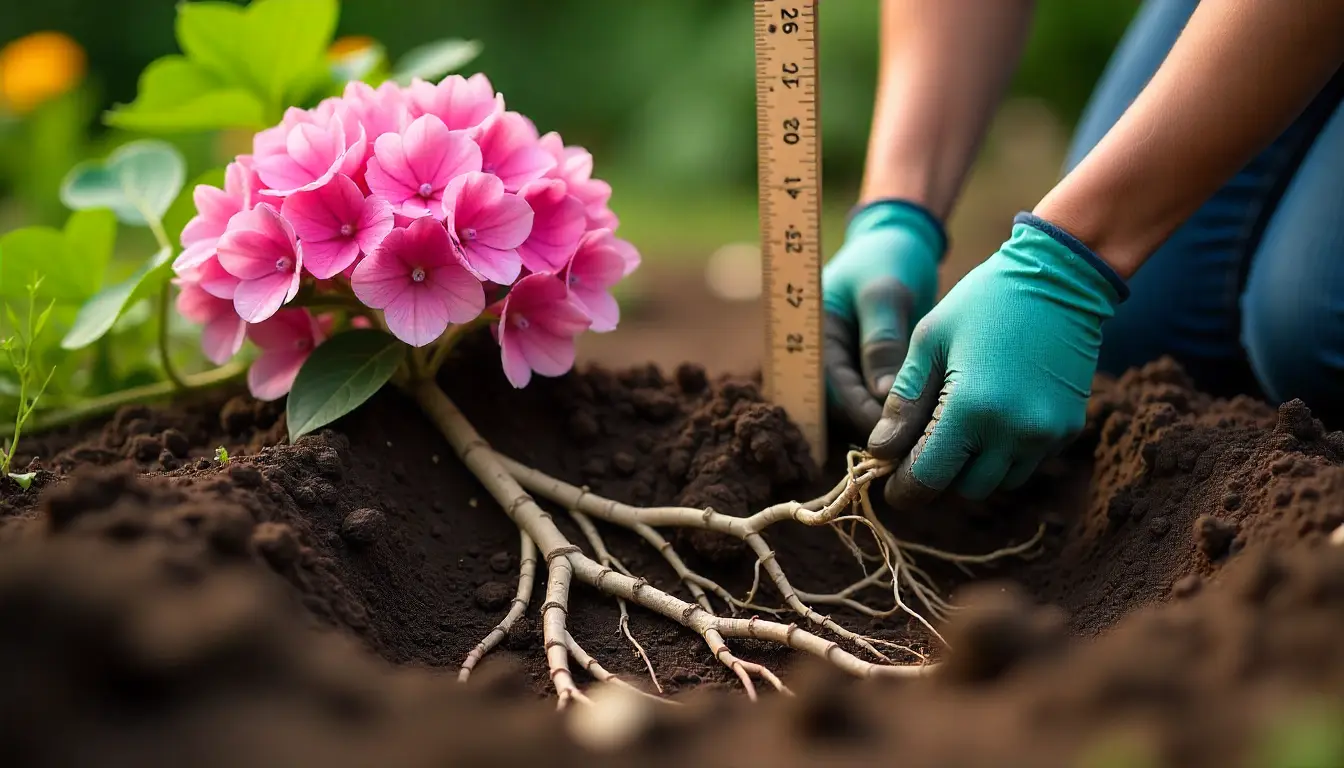
Prepare the Soil
Once you are happy with the surroundings, it’s time to build a solid base. The soil your plants stand on. And there is much that depends on the nutrients, pH levels, and the organic matter in the soil. Take the lack of dissolvable fibers or other organic particles. Without a fair amount of these on the upper level, the soil breaks or tightens when watered or rained. This suffocates the root, creating a bonsai effect. While the pH level of the ground determines a Hydrangea’s color.
That’s why proper balancing of the ingredients in a compost should be prioritized.
- Cover the soil with a 1-to 2-inch-thick layer of organic material. Let it settle down before applying fertilizers
- What kind of fertilizer you should use is a decision you need to make based on your Hydrangea variants
- Blue Hydrangea flourish in acidic soil. Having pine bark and coffee beans in the compost lowers the pH level, bringing the expected polarity. For a fertilizer, use anything with a little sulfate in it.
- Pink Hydrangeas prefer a higher pH. Mushrooms and wood ash make a great compost for them. To make it more alkaline, use lime and phosphate variants.
Start Watering Regularly
Routined watering helps the compost adjust to the ground. Spray on the soil immediately after composting. Water drops seep into the soil, taking the nutrients from the upper level to the plant roots. It also helps in osmosis, increasing mineral and vitamin intakes. Despite all such benefits, you must follow a routine for watering. So the ground gets drenched at a specific time of the day, and the plants are up for a balanced diet. It also prevents dampness and mugginess caused by random and excessive irrigation. Simultaneously reducing insect and pest growth and aggression.
Ensure Free Drainage
Don’t take the prefix Hydra in Hydrangea for its literal meaning, or you can mistake the plant for hydroponics. It’s true that Hydrangeas thrive in moist lands and need daily watering. But boggy soil with no channel to move the old water out is also not somewhere they will survive. If you live in a lowland, which turns into a pool after a short rain, having a drainage system is non-negotiable.
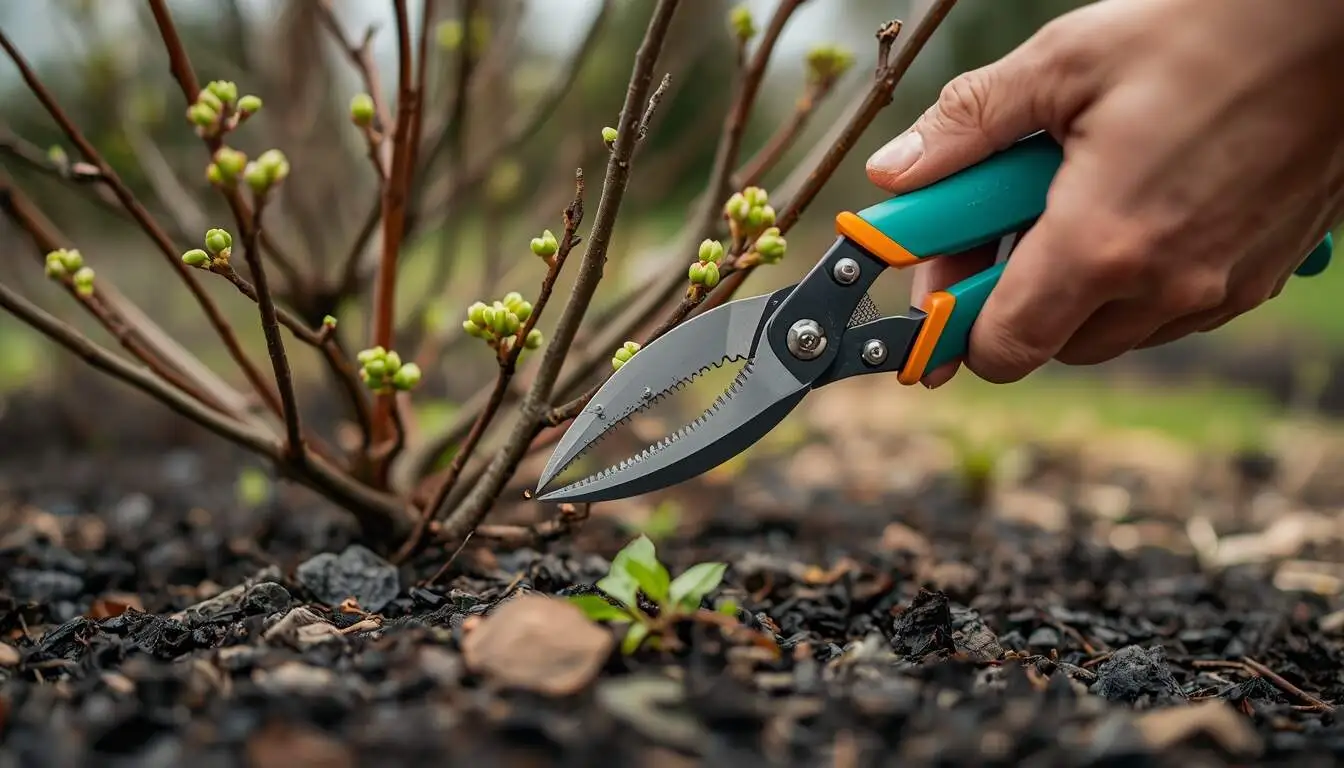
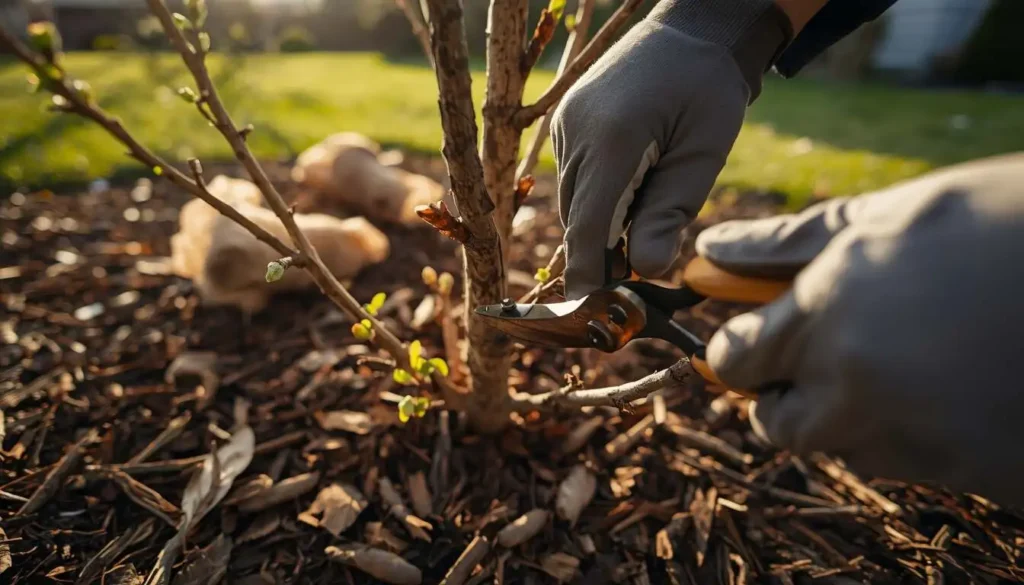
Bring It into Life
This step is about tearing apart the unhelpful and ugly, allowing more space for the upcoming beauty. You know how Hydrangea branches thrive. How they stick out long and rebranch rapidly, spreading out both horizontally and vertically.
Together they form a quite firm structure to hold the rather heavier clustered blossoms. But too many of them often come in the way of new leaf and flower buds. Luckily, winter offers a good solution. The cold kills the weak branches, highlighting the ones you need to keep. Find the sharp cutter and trim the dead sticks from their sprouting points. Soon, the plant will look freer with a sufficient breathable space within.
Prune to Size and Shape
A little pruning does wonders by setting an acceptable perimeter for the growth. But it has to be well-calculated. For consideration, mind the two types of flowering patterns. Some Hydrangeas bloom on old branches, while some bloom on new.
Prune the effective ones by one-third of their length; the rest, as you find necessary for the balance and shape. New branches sprout around the cut of the pruned and reach maturity through the first half of spring. Enough to hold the new flower buds, as they come out around that time (mid-spring).
Think before Applying a Heavy Cut
Gardeners usually love to go all out while cutting Hydrangeas to ground level. The fast pace these plants revive at gives them the confidence and reason. Also, they don’t want to rely on old branches to fight the year ahead, as spring is the only grooming time one can get in a year. But an ideal time doesn’t always make an action ideal.
Examine the plants to find out whether they even need a cut. For instance, if the larger part of the plant is new, probably from the previous season, and seems fresh and active, you may keep it. Otherwise, if the branches are a couple of seasons older and have already faced a few winters, it would then be a good idea to call for a total renovation.
Prepare the Fertilizers
Fertilizing Hydrangea beds is easy. The regular mix of Nitrogen (N), Phosphorus (P), and Potassium (K) suffices to keep the soil favorable throughout the year. You can adjust their ratio to address a specific issue, such as delayed or prolonged growth and a lack of flowers. To trigger faster growth, ensure the mix is either balanced with an equal measure of each ingredient or rich with slightly more N. Don’t be extravagant with the amount of Nitrogen, as its excess may cause overly thin and weak twigs. However, P has no such adverse effect. You can double it in the ratio to stimulate flower development.
Mulch the Surface
In the sunshine, the soil hardens, losing moisture and becoming less humid. The light also tends to spawn weeds, hampering natural growth and beauty. That’s where mulching can be quite effective. Use regular compost materials, like pine bark and straw, leaf mold, or wood chips, laying them densely on the ground surface. A one or two-inch layer would be perfect. It will work as a water retainer and keep the soil fertile by blocking the sun. It’s like a shade for the fertilizers, helping them sustain longer without being vaporized.
Propagate to Multiply
It’s notable that if you have the mind to extend your garden, spring arrives with the best opportunity. Find some healthy branches with new foliage at their joints and prepare them for propagating. Cut it awry at the part to be buried. After placing it into the mud, which should be a hole around two or three inches deep, use ordinary garden soil to seal it. Accompany it with a thin and short stick as support, so it holds against strong wind or rain.
Plant New Hydrangeas
Even seasoned gardeners seem to lose nerve when it comes to handling a new plant. The younger the plant, the more sensitively you need to carry and plant it. In most cases, they are delivered in pots with sprouts already flourishing. Recommended is dig a hole at least twice the width of the pot’s mouth. It also should be deep enough so that, after burial, the ground level matches that in the pot. Water the plant well both before and after.
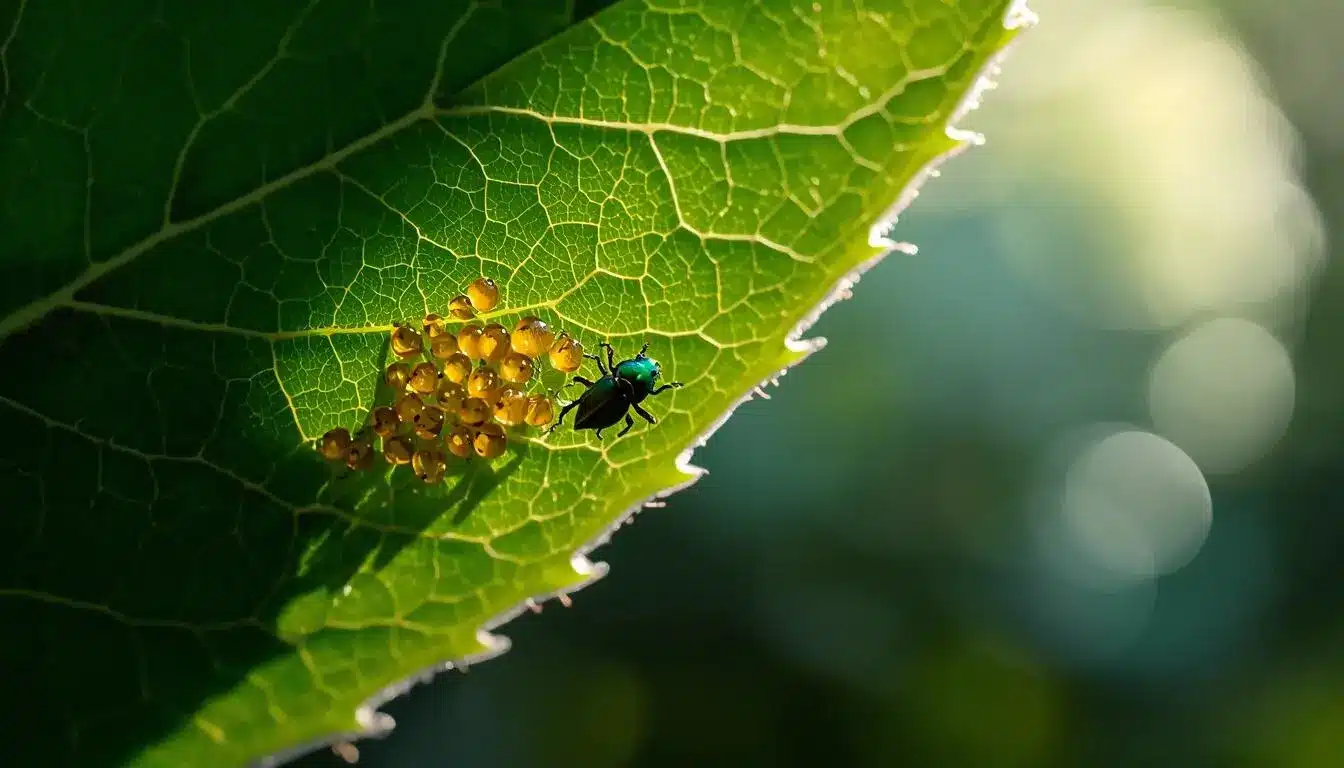
Watch Out for Bugs
Whether you are planting Hydrangeas in spring or waking them up from the winter hibernation, there are bugs to attack new leaves and soft branches. Aphids are common Hydrangea pests. An outbreak can not only spoil a year’s harvest. But garden after garden, including the neighbouring ones. Early spring is when you should check for their presence and symptoms. Probe the buckles and the backside of the leaves. If found, consult experts or take special measures to kill or permanently get rid of the bugs.
Expert Tips for a Better Outcome
Doing everything by the rules and specialized suggestions will set you up for a prolific season. But with a few tricks up your sleeve and applied timely, you can make the most of your garden. To start with, always keep a burlap at hand. It will help you instantly cover your plants on a sudden frosty day. Another good practice is to spatter the fertilizers around the drip line, the ground under the outer reach of the leaves. Naturally, it’s where the spongy root heads reside. So most nutrients get absorbed, limiting waste. Finally, ensure shading to block mid-day scorch. While it’s no secret that Hydrangeas love morning rays, their big leaves burn under harsh sunlight.
Wrapping Up
By far, we’ve covered almost every phase and aspect of spring Hydrangea care. Looking closely, you will find them easy to follow. But don’t take any for granted, regardless of how simple or ignorable they may look. As their impact won’t be as simple. And not something that can be addressed later. Hydrangea care in spring is all about being mindful of the details. The more attentively you can detect the problems, prepare in advance, and prevent future threats, the better result you can hope for.
FAQ
Is Caring For Hydrangeas In Spring Difficult?
No. From preparing the bed, unfrosting them to the warm breeze, making them ready for the long season to come, and shaping them into healthy plants, all steps are usual. All you need is focus on creating a routine and maintain it.
Do Hydrangeas Die in Winter?
Hydrangeas thrive in moist and fertile soil. Which makes them struggle in winter, shedding leaves and killing feeble branches. Only plants in good health and shape can store enough energy to survive the cold; however, following specific strategies for overwintering these perennials can significantly improve their survival rate.; however, following specific strategies for overwintering these perennials can significantly improve their survival rate.
What is the Best Time to Plant or Propagate Hydrangeas?
Spring. Unlike most flower plants that flourish in the rainy season, Hydrangeas get a boost in the Spring, as the soil conditions align with the optimal transplanting window for woody perennials. New buds emerge at winter’s end and become mature within weeks. You can expect blooms to appear in mid-spring. This makes early spring the most optimal for their plantation.
How to Stop Leaves from Turning Yellow in Spring?
Any sign of yellow or brown mottles on the new leaves indicates the soil is still frosty. The roots are still not at work due to the intense cold underground. As the first response, spray mild warm water below the plant. The heat will signal to the roots that the sleeping time is over. If the problem persists, apply some sulfur to reduce the pH level. Hydrangea leaves are vulnerable to extremely alkaline soil.