Winter Care for Hydrangeas: Protect Your Blooms and Guarantee Spring Flowers
Your hydrangeas look perfect now. But one brutal winter night can destroy next summer’s flowers before they ever bloom.
Hydrangea winter care separates gardeners who enjoy abundant blooms from those staring at bare branches all summer. Mastering year-round hydrangea health comes down to a few simple steps. The difference comes down to a few simple steps taken before the first hard freeze.
Most people don’t realise their hydrangeas set flower buds in late summer and fall, according to Joe Gardener’s research on cold tolerance.
Those buds sit dormant on the stems all winter long. One cold snap below 26°F kills them permanently, as Rosy Soil’s bloom timing data confirms.
Winter protection isn’t complicated. You just need to know your hydrangea type and match your protection method to your climate zone. This guide shows you exactly what to do.
Know Your Hydrangea Type Before You Do Anything Else
Your protection strategy depends entirely on one thing. Does your hydrangea bloom on old wood or new wood?
Old wood bloomers form flower buds in late summer on existing stems. Those buds overwinter and open the following spring. If winter damages these buds, you get zero flowers.
Martha Stewart‘s pruning guide explains that bigleaf hydrangeas and oakleaf hydrangeas fall into this category. They bloom from June to October in good conditions.
New wood bloomers create buds in spring on fresh growth. Winter can kill every stem to the ground, and you’ll still get flowers.
Proven Winners confirms that panicle hydrangeas and smooth hydrangeas bloom on new wood. These are the only reliable choices for Zone 3 gardens where winters hit -40°F.
Reblooming varieties give you insurance. Rosy Soil notes these produce buds on both old and new wood. Some flowers appear even if winter damages the old-wood buds. Perfect for Zones 5-6 (areas where winter temperatures drop to -10°F to -20°F), where protection sometimes fails.
Here’s how to identify yours. Look at last summer’s dried flower heads.
- Bigleaf hydrangeas have round ball-shaped blooms or flat clusters. These are also the primary varieties used for adjusting petal hues based on soil pH.
- Panicle types have cone-shaped flowers. They start white and turn pink.
- Smooth hydrangeas have large, round white blooms shaped like footballs.
Fall Prep Starts Your Winter Protection
September through November determines whether your hydrangeas survive winter.
These steps matter more than anything you do in December or January.
Stop all fertilizer by late August. Better Homes & Gardens research indicates that late feeding can create tender new growth that is more susceptible to freezing.
Your plant needs to toughen up for winter, not push out soft stems.
Keep watering until the ground freezes solid. This sounds wrong, but it’s critical. Southern Living’s guide to cutting back hydrangeas is clear on this point. Only remove dead wood and spent flowers.
Well-hydrated plants survive cold stress far better than dry ones. Water deeply several times in the fall, even if it rains. Rainfall often runs off without soaking in. Continue until late October or November when the soil freezes hard.
The anti-desiccant spray option helps in windy areas.
Products like Wilt-Pruf form a clear film on leaves that reduces moisture loss. Urban Nature Store explains these sprays prevent winter burn from harsh drying winds. Apply when daytime temperatures stay above 50°F with no rain forecast for 24 hours.
The protection lasts three to four months. Warm spells break dormancy and open leaf pores, so reapply after mid-winter thaws.
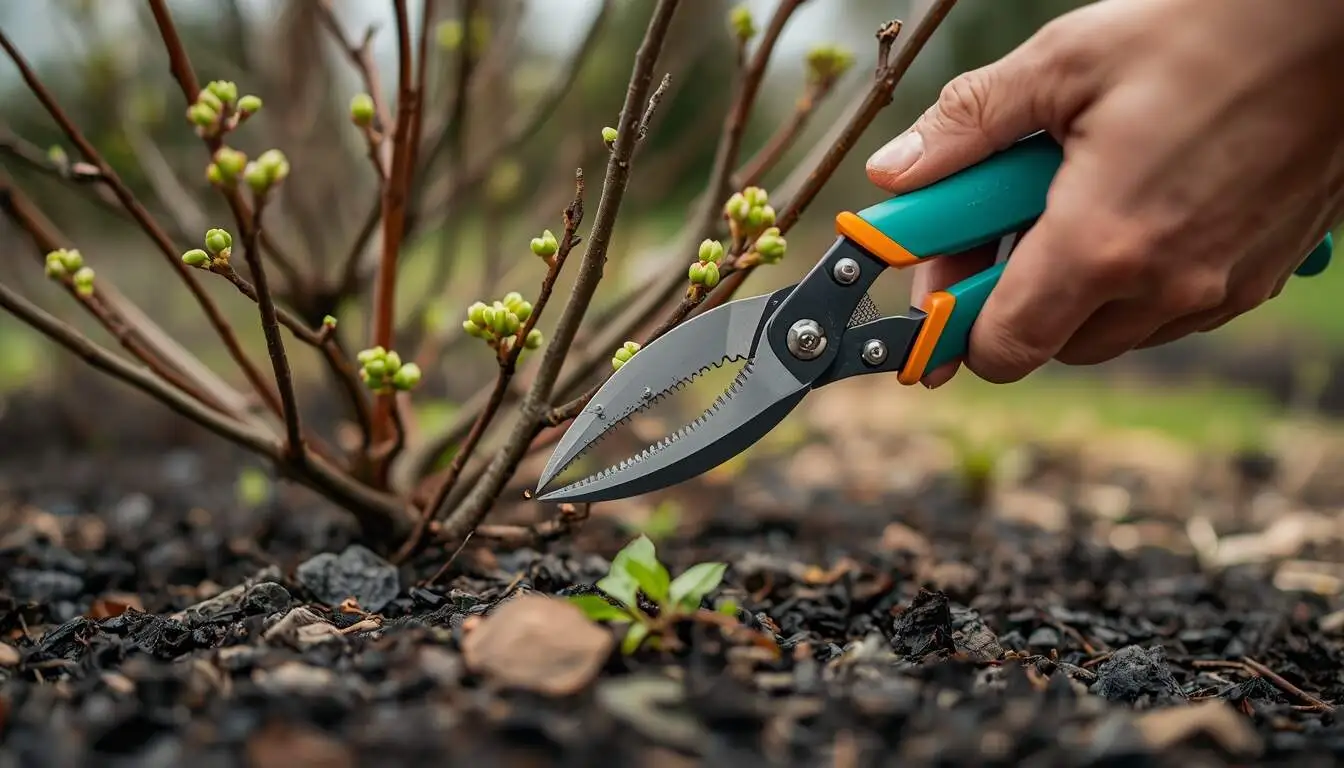
Pruning old wood bloomers in the fall is a mistake.
Southern Living’s pruning guide is clear on this point. Only remove dead wood and spent flowers. Cut faded blooms down to the first set of buds and stop there.
New wood bloomers can be pruned in fall, but most gardeners wait until late winter to preserve dried seedheads for winter interest.
Remove all fallen leaves from around your hydrangeas. Gardening Know-How reports that the Botrytis cinerea fungus overwinters in plant debris. Cool wet conditions plus debris create perfect mold conditions. Garden Design recommends ensuring good air circulation through light pruning.
Dense canopies trap moisture where mold thrives.
Add two to three inches of compost around the plant base in early November. This step is optional but beneficial.
It adds nutrients for spring growth and improves soil structure. Don’t let compost touch the stems directly.
This adds nutrients for spring growth and improves soil structure. If you prefer natural hydrangea feed, this is the perfect time to prep the root zone.
Winter Protection Methods for Different Hydrangea Types
Your hydrangea type and climate zone determine which protection method to use.
Protection becomes mandatory when nighttime temperatures drop. If you are still in the planning stages, choosing ideal planting locations and timing can reduce the amount of winter protection needed later.
Basic Protection for All Hydrangeas
Start with basic protection for all hydrangeas.
Apply a three to four-inch mulch layer around plant bases once soil temperature cools. Use wood chips, shredded leaves, or straw.
Mulch insulates roots and moderates freeze-thaw cycles. Don’t mulch too early before frost. Warm mulch invites rodents to nest and cause damage.
The Cage and Leaf Method for Old Wood Bloomers
The cage and leaf method works best for old wood bloomers in Zones 5-6.
After leaves drop in late fall, create a cylindrical cage using wooden stakes or sturdy tomato cages.
Wrap the exterior loosely with burlap, leaving small gaps for airflow. Trapped moisture causes rot, so airflow matters.
Pack the interior completely with dry oak leaves, pine straw, or shredded leaves. Make sure coverage reaches all stems and buds.
Dry leaves provide excellent insulation. You can optionally wrap the exterior cage with additional burlap for wind protection in exposed locations.
Burlap Shielding for Windy Areas
Burlap shielding works in windy areas without extreme cold. Wait until after the first hard frost when the plant is fully dormant.
Wrap burlap loosely around stems with four to six inches of space between fabric and branches.
This gap allows airflow. Secure with twine from bottom to top. Unwrap temporarily on warm late-winter days to prevent overheating and early bud forcing.
Protecting Potted Hydrangeas
Potted hydrangeas face bigger challenges. Roots in pots are one to two zones less hardy than in-ground plants. Moving pots to shelter gives the best results.
Moving Indoors
Relocate containers to an unheated garage, basement, or cold porch.
Garden Lady’s overwintering guide recommends maintaining temperatures between 32-45°F. The goal is dormancy without freezing.
Water sparingly in cold storage. Check the soil monthly and water only when bone dry. Overwatering causes root rot during dormancy. Provide minimal light.
Keep plants away from heating vents that trigger premature growth. Transition pots outdoors gradually after all frost danger passes. Start in shade, then move to increasing light over four to seven days to prevent leaf scorching.
Leaving Pots Outdoors
For pots left outdoors, wrap the exterior with bubble wrap, straw, or burlap to insulate roots.
Group containers together and position them against south or east-facing house walls where heat radiates. This method works best for plants already hardy to your zone.
The Trench Method
The trench method offers another option.
Dig a trench and bury the entire pot to the rim in garden soil. Natural soil insulates better than any artificial method. Mark the location so you can find it in spring.
Winter Maintenance Throughout the Cold Months
Winter protection doesn’t end once you wrap your hydrangeas. Regular checks and smart snow management keep your plants safe until spring arrives.
Managing Snow Cover
Snow provides beautiful insulation when it accumulates gradually.
Snow cover protects better than any artificial method. However, heavy wet snow loads break branches. After major snowstorms, gently brush heavy snow from branch tips. Leave natural snow cover otherwise.
Only remove snow if the load visibly bends branches or if ice coats the plant.
Protecting Against Rodents
Mice and voles gnaw hydrangea bark in winter, especially around the base, where snow provides cover.
The most effective defense is quarter-inch hardware cloth wrapped around the plant’s base.
Wrap the mesh around stem bases, extending 20-30 cm above ground and 5-10 cm below the soil. Leave a small gap between the mesh and the stem to allow growth. Secure with twine or wire ties at top and bottom.
A larger mesh allows mice to squeeze through. Wear gloves when handling hardware cloth because the cut edges are dangerously sharp.
Regular Winter Checks
Check burlap and leaf-filled cages every two to three weeks.
Look for water saturation that indicates trapped moisture, potentially causing rot. Check for pest activity or burrows. Look for damage from snow load or wind.
Remove wrappings on warm days above 50°F in late winter to prevent heat buildup that forces early budbreak. Reapply if frost is forecasted.
Watering During Winter Thaws
During January-February warm spells, check soil moisture around wrapped plants.
If the soil is bone dry, provide a slow, deep watering on a day when the ground isn’t frozen.
Most winters provide enough moisture through snow and rain, but prolonged dry periods warrant supplemental watering to prevent root desiccation.

Spring Unwrapping and Post-Winter Care
Unwrap hydrangeas when the average last frost dates pass.
Epic Gardening recommends waiting one to two weeks beyond that date to protect against late-season snap-back frosts.
Timing varies dramatically by zone.
- Zone 3-4 gardeners (coldest areas with winter temps to -40°F) wait until May 20-31.
- Zone 5-6 (areas with winter temps to -10°F to -20°F) unwraps May 1-15.
- Zone 7 (areas with winter temps around 0°F to 10°F) unwraps April 15-May 1.
- Zone 8 and warmer (areas with winter temps above 10°F) can unwrap April 1-15.
Conservative gardeners unwrap gradually. Remove covers on warm days and replace them on nights with frost forecasts.
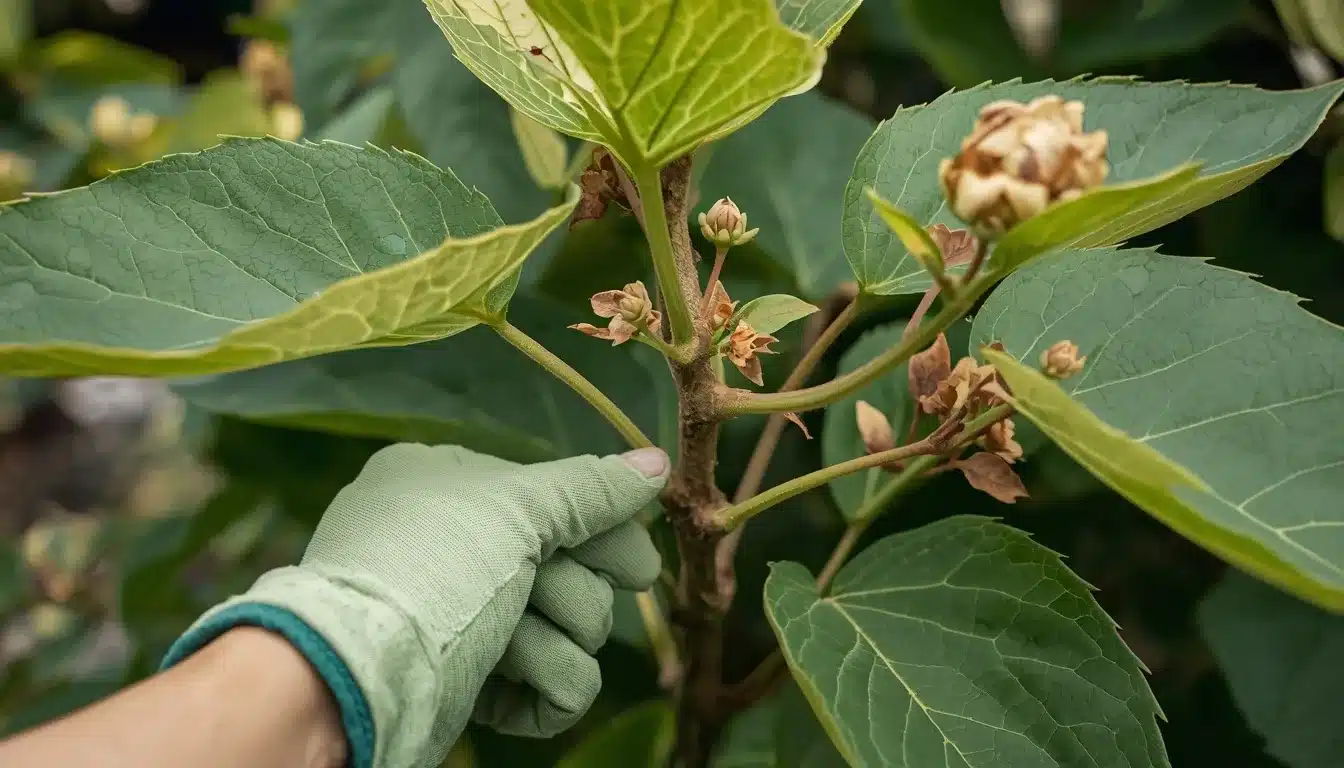
The scratch test assesses damage two to three days after the final hard frost.
McDonald Garden Center explains the simple technique. Use your fingernail or a knife blade to lightly scratch bark on branches at multiple points.
Check from the branch tips down toward the base. Green tissue beneath the bark means that the section is alive and will recover. Brown or yellow tissue indicates dead wood requiring removal.
Wait until all frost risk passes, ideally two weeks after the last frost date. Premature pruning removes protective bark and depletes energy reserves needed for recovery.
Once danger passes, apply spring mulch.
Add two to three inches of organic material around the base to retain moisture and regulate soil temperature as new growth emerges. Apply balanced slow-release fertilizer once new green leaves appear… choosing the optimal nutrients for flower production ensures you don’t encourage leaves at the expense of blossoms.
Avoid high-nitrogen formulas that encourage excessive vegetative growth at the expense of flowers.
Prune damaged wood by cutting dead or frost-damaged branches back to the nearest healthy bud using sharp, clean pruners.
Troubleshooting Common Winter Problems
Even with careful protection, winter can throw unexpected challenges at your hydrangeas.
Late Spring Frost Damage
Unexpected hard freezes in April or May are particularly damaging because hydrangeas have already broken dormancy.
Don’t panic or prune immediately. Frost-damaged leaves often recover as new leaves emerge throughout the season.
Leave damaged foliage in place for two weeks or more. It protects underlying stems from additional cold snaps. Only prune if shoot tips hang limply, indicating stem death.
Cut back to the next intact bud. Reapply frost cloth if additional cold is forecast.
No Blooms After Winter
If your hydrangea leaves out but produces no flowers, the diagnosis depends on the type.
Old wood bloomers lost their buds to freezing. Implement the cage and leaf method next year. New wood bloomers will still flower in summer. Wait patiently.
Recent transplants or young plants may skip flowering for one to two years while establishing roots.
Frost Heave Problems
Frost heave occurs when freeze-thaw cycles cause roots and crowns to push above the soil surface.
Key signs include exposed withered roots, wilting despite adequate soil moisture because roots can’t access water, and plants uprooted from the soil.
Prevention requires a three to four-inch mulch layer applied after the ground cools to moderate freeze-thaw cycles.
For recovery, firm soil back around exposed roots once spring arrives, or cover the heaved plant with additional mulch to protect roots until new feeder roots establish.
Zone-Based Protection Guide
Zones 3-4 experience winter temperatures to -40°F. Plant smooth and panicle hydrangeas only in these zones. If growing bigleaf varieties, build full cages and leaf enclosures.
Mulch all plants heavily.
Zones 5-6 see winter temperatures to -10°F. Protect old wood bloomers with caging or burlap wrapping. New wood bloomers need only mulching. Reblooming types benefit from extra insulation.
Position bigleaf hydrangeas near south-facing house walls for ambient heat.
Zones 7 and warmer stay above 0°F in winter. Basic three to four inch mulch is usually sufficient. Wrap only during unusual cold snaps. Focus on Botrytis prevention through fall cleanup.
Your Winter Care Essentials
Gather these supplies before winter arrives.
- Landscape-grade breathable burlap
- Jute twine or garden twine
- Tomato cages or three to four-foot-tall wooden stakes
- Dry oak leaves or pine straw for filling cages
- Mulch like wood chips or shredded leaves
- Quarter-inch galvanized hardware cloth for rodent protection
- Frost cloth or old bedsheets for late-spring frosts
- Work gloves with tin snips for hardware cloth
The Simple Truth About Hydrangea Winter Care
Hydrangea winter care is tailored to the strategy, type, and zone.
New wood bloomers offer foolproof simplicity. Mulch them and move on. Old wood bloomers demand attention but reward diligent gardeners with abundant summer blooms.
The cage and leaf method succeeds even in Zone 5 winters when properly executed. Potted specimens thrive in unheated garages. Spring unwrapping timing prevents the heartbreak of late frost damage.
The investment in protection during November pays dividends in June when your hydrangea explodes in color. These reliable, long-lived shrubs deserve that investment.
Your reward is a thriving, blooming garden year after year, built on the foundation of smart winter protection that preserves every precious bud waiting beneath the bark.
Frequently Asked Questions About Hydrangea Winter Care
Do all hydrangeas need winter protection?
No, new wood bloomers (panicle and smooth) only need basic mulching, while old wood bloomers need more protection in zones 5-6 and colder.
When should I start winterizing my hydrangeas?
Start after the first hard frost in late fall when soil temperature cools, and plants are fully dormant.
Should I prune my hydrangeas before winter?
Old wood bloomers should only be deadheaded, while new wood bloomers can be pruned, but many gardeners wait until late winter.
Does wrapping hydrangeas in burlap actually work?
Yes, burlap protects against drying winds, and when combined with the cage and leaf method, it protects buds from cold damage.
Can I use plastic to wrap my hydrangeas?
No, plastic traps moisture and causes rot, so always use breathable materials like burlap or frost cloth.
How deep should the mulch be around my hydrangeas?
Apply three to four inches deep around the base after the soil cools.
Should I water my hydrangeas in winter?
Yes, water deeply in the fall until the ground freezes, and during mid-winter thaws if the soil is bone dry.