Air Layering Wisteria Like a Pro: Complete Guide & Success Tips
Dreaming of multiplying your beautiful wisteria vine? I have already done it twice in my garden! For me, air layering is one of the effective methods for root development. So, I thought it would be great if I shared the complete guide to air-layering wisteria with you.
Let’s jump into this method, explore its benefits, and discover if it’s perfect for your wisteria! First, I am going to show you the definition and importance of air layering, and then I will jump right into the steps. So, let’s get started!
What is Air Layering Wisteria?
Imagine growing roots directly on a branch still attached to the mother plant. Air layering makes this magic happen! We wrap a section of the stem, apply rooting hormone, and encase it in a moist, nurturing environment. This “air layer” develops its root system, eventually allowing us to sever it and create a new, independent wisteria.
Why is Air Layering Important?
This technique offers several advantages, such as preserving the desirable traits, strengthening the weaker branch, controlling the spreading, and making fun of your gardening experience, like mine.
- Preserve Desirable Traits: While cloning wisteria through stem pieces can be unpredictable depending on the season, air layering ensures your new wisteria inherits the exact characteristics you cherish with a much higher success rate because the branch stays attached to the parent.
- Strengthens Weaker Branches: If your wisteria has a thin or damaged branch, air layering can offer it a second chance by allowing it to root and become self-sufficient.
- Controls Spread: Wisteria can be aggressive. Air layering allows you to propagate desired varieties without the risk of uncontrolled growth.
- Fun and Rewarding: Witnessing the transformation from a branch to an independent plant is a satisfying experience for any gardener.
Can You Air Layer Wisteria?
Absolutely! Wisteria is a perfect candidate for our operation! It responds well to air layering. However, you must have timing, patience, and selection sense to make it work best.
- Timing: Early to mid-summer is ideal, as the plant is actively growing.
- Selection: Choose healthy, pencil-thick branches with active nodes (leaf junctions).
- Patience: Root development takes months, so be prepared to wait and nurture your air layer.
Stay tuned for the upcoming section, where I will provide the step-by-step process of air layering your wisteria, complete with essential tools, materials, and troubleshooting tips.
Materials Needed for Air Layering Wisteria
Essential Equipment
- Sphagnum Moss: This moisture-retaining moss is crucial for providing water and promoting root growth in your air layer. Choose long-fibered sphagnum moss for optimal results.
- Transparent Plastic Wrap: This creates a humid environment around the air layer, which is essential for root development. Choose a size large enough to encase the moss and branch section comfortably.
Optional Equipment
- Sharp Knife: It’s not always necessary, but a clean, sharp knife can help make precise cuts on the branch, especially for thicker stems.
- Securing Material: Choose something that can tightly hold the moss and plastic wrap around the branch. Popular options include Gardener’s Twist Ties, Zip Ties, or Raffia Or Twine.
Once you have these materials and gardening tools, you can proceed to the main game. You only need a healthy and fresh branch for the whole operation.
A Step-By-Step Guide on How to Air Layer Wisteria
Firstly, select a vigorous wisteria branch from your garden. In spring, look for a shoot from last season. Then, follow the steps below:
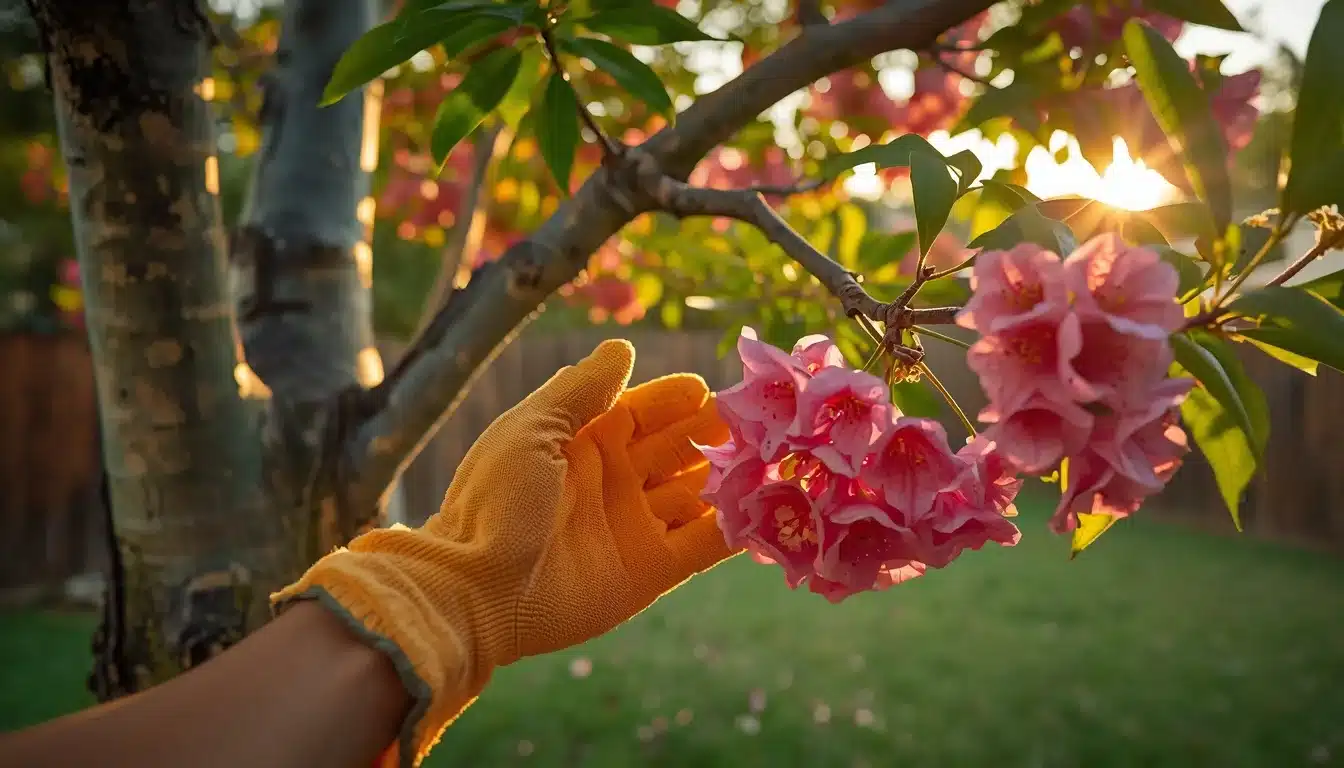
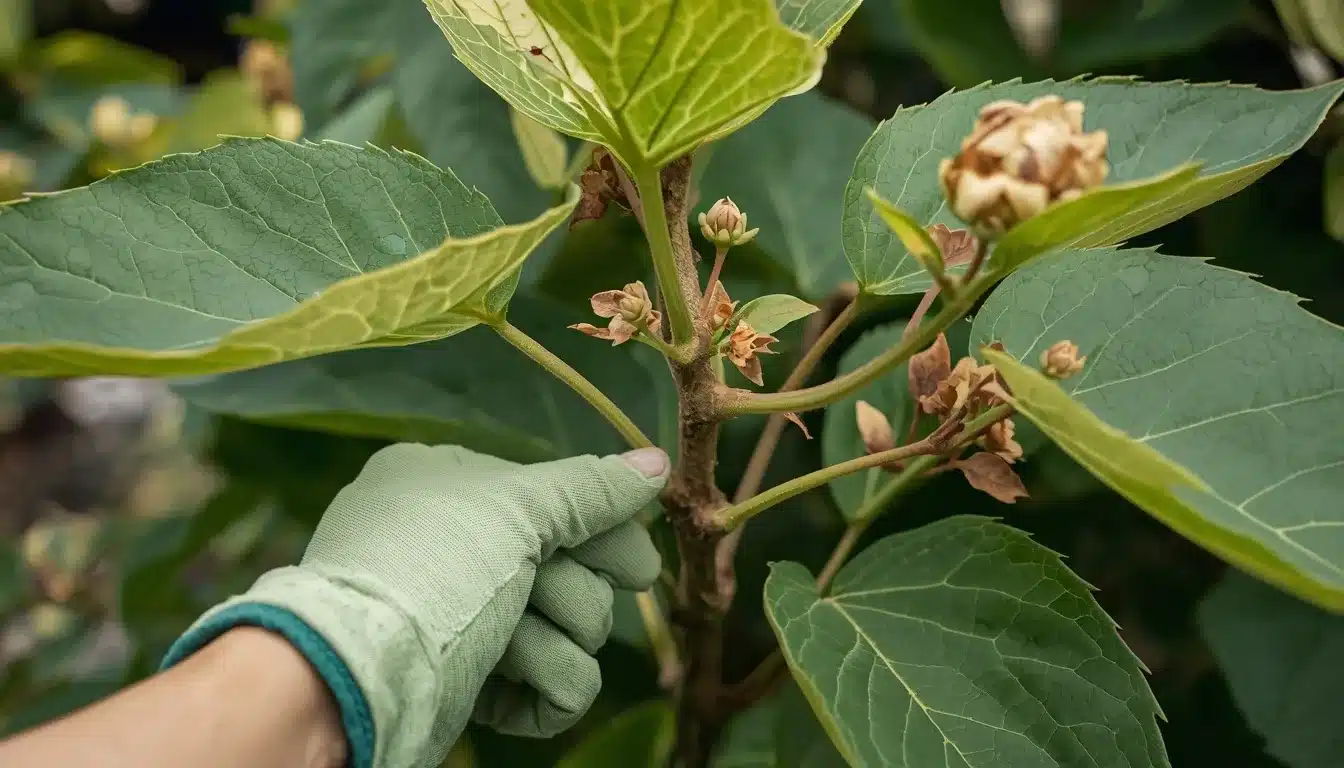
Step 1: Selecting a Fresh and Healthy Branch
For the air layering method, select a young, vigorous branch with fresh growth – this will develop roots most successfully, particularly during summer layering. Look for plump buds and bright green leaves to identify a healthy candidate.
Step 2: Trimming the Branch leaves
Gently clear the chosen branch’s base and remove any new leaves. This process exposes a clean stem, ready for the next step. Remember, be mindful not to damage the underlying bark.
Step 3: Removing Bark
his controlled ‘wound’ disrupts a plant hormone (auxin), triggering it to build up. This process is somewhat similar to the precision needed in wisteria grafting techniques, where the inner cambium layers must be exposed to encourage new cellular growth.
Step 4: Mixing Rooting Powder
To further help root formation, smear some rooting powder on the exposed green tissue of the branch. Just a smear will be enough. You won’t need to coat the entire wounded area.
Step 5: Covering the Wounds
Cover the wound with sphagnum moss, just like a bandage. Make sure the wound has good coverage. Before this, place the moss in a bucket of water, but ensure to squeeze out any excess water before covering the wound. This step will create a healthy environment for new roots to grow.
Step 6: Wrapping with Plastic
Wrap your moss like a cozy sweater! Use clear plastic film to ensure it’s snug but does not constrict the branch. You might need an extra hand to hold things steady. Then, secure the wrap with garden ties and create a moisture-filled haven for new roots to sprout.
Step 7: Twisting Aluminum Foil
Now, give your moss a sunshade and moisture shield. Wrap the air layer snugly with black plastic or aluminum foil. Secure it with garden ties. This prevents drying and even protects against algae growth in a humid environment. Think of it as a mini greenhouse for your new roots.
Step 8: Leaving and Waiting
Rooting time can vary from plant to plant. So, I recommend you leave your air layering work to root for 6 to 10 weeks. If your moss gets crunchy, open one end and add warm water to moisten the air layer.
Step 9: Unwrapping the Branch
Finally, it’s unveiling time! When roots become visible through the plastic or foil, it’s time to unwrap your air-layered masterpiece. Get ready to welcome a brand new wisteria in your garden.
Step 10: Removing from Parent Tree
With the wraps off, it’s time for the big moment! Make a clean cut just below the newly formed roots using a sharp knife. When you do this, carefully separate your new wisteria from its parent.
Now you can plant it anywhere using my guide! One of the best parts about air layering is that it significantly shortens the wisteria flowering timeline, as the branch you used was already at a blooming age, unlike young seedlings or small cuttings.
But now come some big questions. Do you know when to air-layer for the best result? Let’s discuss that!
The Best Time to Air Layer Wisteria
For optimal results, air layer your wisteria when it’s bursting with life! Prepare for spring or summer, coinciding with its blooming period. This timing guarantees your wisteria is actively growing, giving the new roots a healthy springboard to thrive during the warmer months.
Think of it as giving your new plant a strong start in life while the parent wisteria is at its most energetic.
How to Keep the Air Layer Faster?
The air layering technique for wisteria depends on adequate time and precise conditions to encourage successful root development.. While you can’t directly “speed up” the process, there are ways to optimize the growth. Usually, you can pamper the parents and give them warm weather.
Take Care of the Parent Wisteria
- Sunshine provides ample, bright light for the mother plant. Photosynthesis fuels root development, so give it a sunny spot.
- Water regularly to maintain healthy moisture levels in the parent plant, as its health directly impacts air layering success.
- Consider a balanced fertilizer to boost the parent’s overall health and vigor, indirectly benefiting the air layer.
- If your environment is naturally dry, consider increasing humidity around the mother plant to create a favorable growth environment.
Give Gentle Warmth to the Branch
- If temperatures are cool, a heat mat can warm the air layer gently. It potentially stimulates root growth. Think of it like wearing a light sweater when it’s chilly.
- Choose a warm, sheltered location for the air layer, away from drafts and harsh sunlight.
But I have a suggestion here. When you do this, avoid overwatering the air layer itself. Excessive moisture can harm delicate roots. Rooting takes time, so avoid constantly checking or disturbing the air layer. Based on my observation, these tips may not guarantee faster results, but they can create a more favorable environment for success.
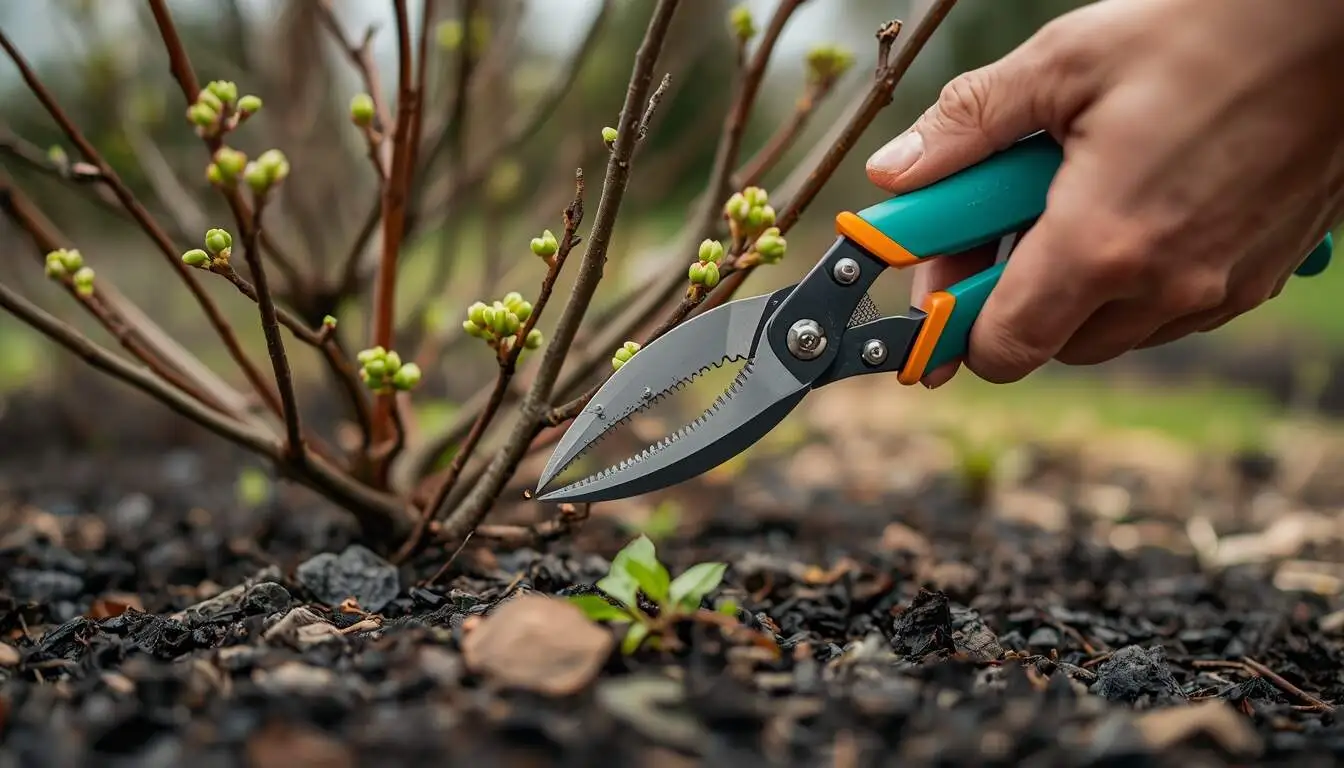
Pruning and Maintenance for Air Layering Wisteria
While air-layering your wisteria, stop drastic pruning on the chosen branch. Leave some leaves above the air layer for photosynthesis, which helps root development. However, I would say that remove any new growth below the layer to prevent resource competition. Then, monitor the parent plant, and if necessary, prune lightly to encourage overall vigor and growth, supporting the air-layering process.
What Types of Wisteria are Good for Air Layering?
I believe this section will help you choose the right wisteria. Air layering offers a fantastic way to propagate your beloved wisteria, but not all varieties respond equally well. Let’s explore which types are best for this technique:
Japanese Wisteria (Wisteria floribunda)
This popular choice readily takes to air layering thanks to its vigorous growth habit. Look for healthy branches with plump buds and vibrant green leaves for optimal success.
Chinese Wisteria (Wisteria sinensis)
Another prime candidate is Chinese Wisteria. The Chinese wisteria is known for its prolific blooms and adaptability. So, select actively growing branches with visible nodes for the best results.
American Wisteria (Wisteria frutescens)
Compared to its Asian counterparts, the American wisteria can still be successfully propagated this way. So, go for younger, flexible branches for higher success rates.
Silk Tassel Wisteria (Wisteria brachybotrys)
This unique cultivar with shorter flower clusters also responds well to air layering. Choose branches with mature nodes and ensure consistent moisture throughout the process.
Moonflower Wisteria (Wisteria macrostachya)
As a fast-growing variety, the Moonflower wisteria exhibits good potential for air layering. Be mindful of its sprawling nature and select branches with manageable sizes.
What are Other Types of Air Layering?
- Tip Layering
- Simple Layering
- Compound (Serpentine) Layering
- Mound Layering
Conclusion
Well, there you have it! That was my comprehensive guide to air layering wisteria! I unlocked the magic of multiplying my wisteria garden with a touch of patience, the right timing, and careful attention to detail.
Remember that, this practice isn’t just about adding new plants to your garden; it’s about nurturing a personal connection with your wisteria, witnessing its growth from branch to independent life.
So, choose a healthy branch to get started on your rewarding journey. Follow my other posts to learn how to take care of wisteria for longer lifespans.
FAQs
How long does it take to air layer wisteria?
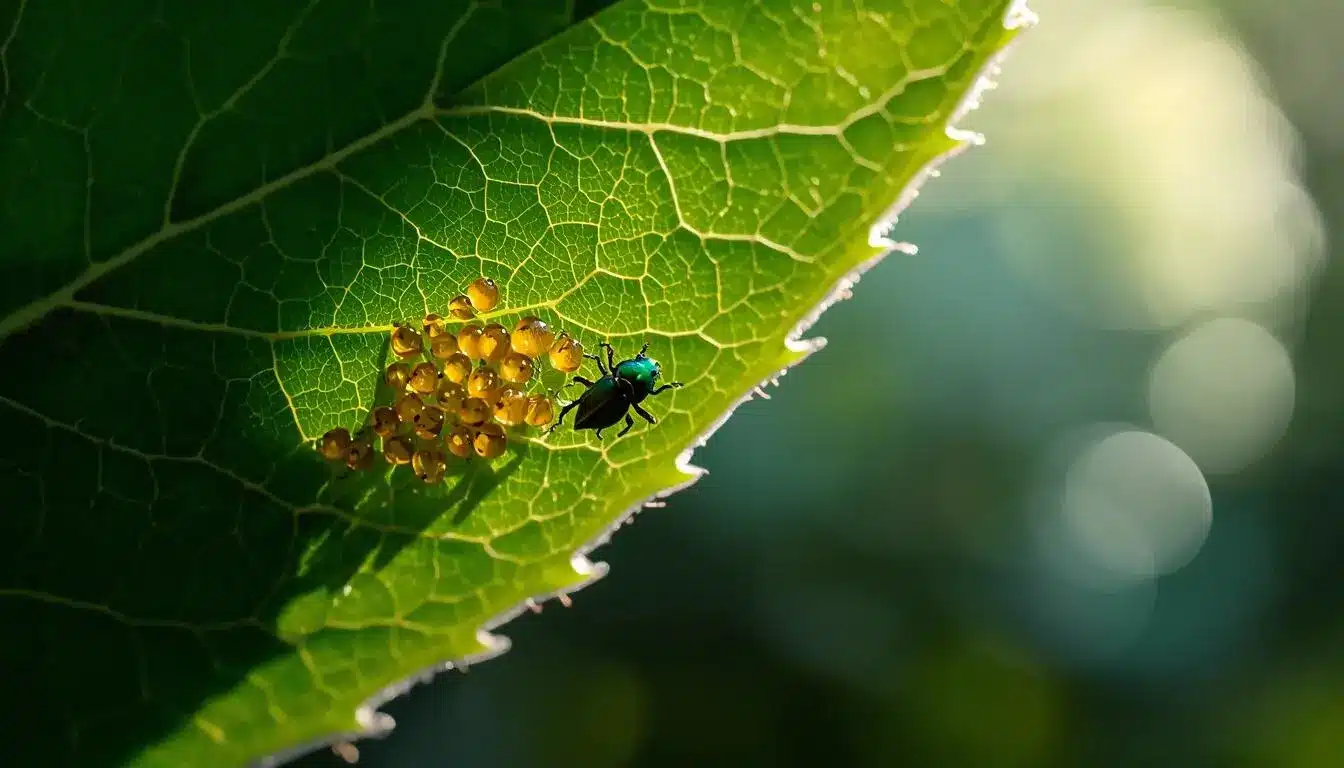
Wisteria air layering takes about 16 weeks. Roots sprout after 6 weeks, but give them another 6 weeks to develop fully. Keep woodlice at bay, as they love feasting on new roots!
What’s the best time to air layer wisteria?
Spring or early summer is ideal. This period is called the blooming season for wisteria. So, aim for actively growing branches for optimal results during this timeframe.
Can I use any type of wisteria for air layering?
Japanese, Chinese, Silk Tassel, Moonflower, and American Wisteria are good candidates. Remember that individual plant health and growing conditions play a significant role. So, choose young, healthy branches with prominent nodes.
Do I need rooting hormone?
It’s optional but can encourage faster root development. Apply a light dusting to the exposed cambium layer if desired.
How often should I water the air layer?
Keep the sphagnum moss consistently moist, but avoid overwatering. Check it regularly and add water if it feels dry. Also, filter out the extra water to prevent the rotting.
How do I know when the air layer is ready to separate?
Look for visible roots through the plastic or foil wrap. Once established, carefully cut the branch below the new root system to separate your new wisteria plant.
What should I do with the new wisteria plant?
Pot it in a suitable soil mix and provide proper care. Choose a location with good light and drainage. Don’t forget to water and fertilize regularly.