Five Tested Homemade Fertilizers for Hydrangeas: Get Bigger Blooms Without Breaking the Bank
Your hydrangeas deserve to look their best. And getting those gorgeous, colorful blooms doesn’t mean you need to spend money on expensive fertilizers. With a few simple kitchen scraps and some basic know-how, you can feed your plants naturally while keeping them healthy all season long.
Here’s the thing about hydrangeas. They’re not super picky eaters, but they do need the right balance of nutrients to produce those stunning flowers everyone loves. Think of it like this: the right nutrition at the right time equals more blooms, stronger stems, and leaves that stay green instead of turning yellow.
This guide will walk you through everything you need to know about homemade fertilizer for hydrangeas. You’ll learn which kitchen scraps actually work, when to apply them, and what to avoid. No complicated science talk, just straightforward advice based on what actually helps these plants thrive.
What You’ll Learn:
- Five tested homemade recipes that actually work for hydrangeas.
- When to feed your plants (and when to stop)
- How to fix common problems like yellow leaves and a few flowers.
- The real truth about coffee grounds and color changes.
- Easy troubleshooting for when things go wrong.
Let’s get your hydrangeas looking amazing.
Understanding What Your Hydrangeas Actually Need
Before we jump into recipes, you need to know what makes hydrangeas tick. Different types have different comprehensive horticultural requirements, and what works for one might not work as well for another. Different types have different needs, and what works for one might not work as well for another.
Not All Hydrangeas Are Created Equal
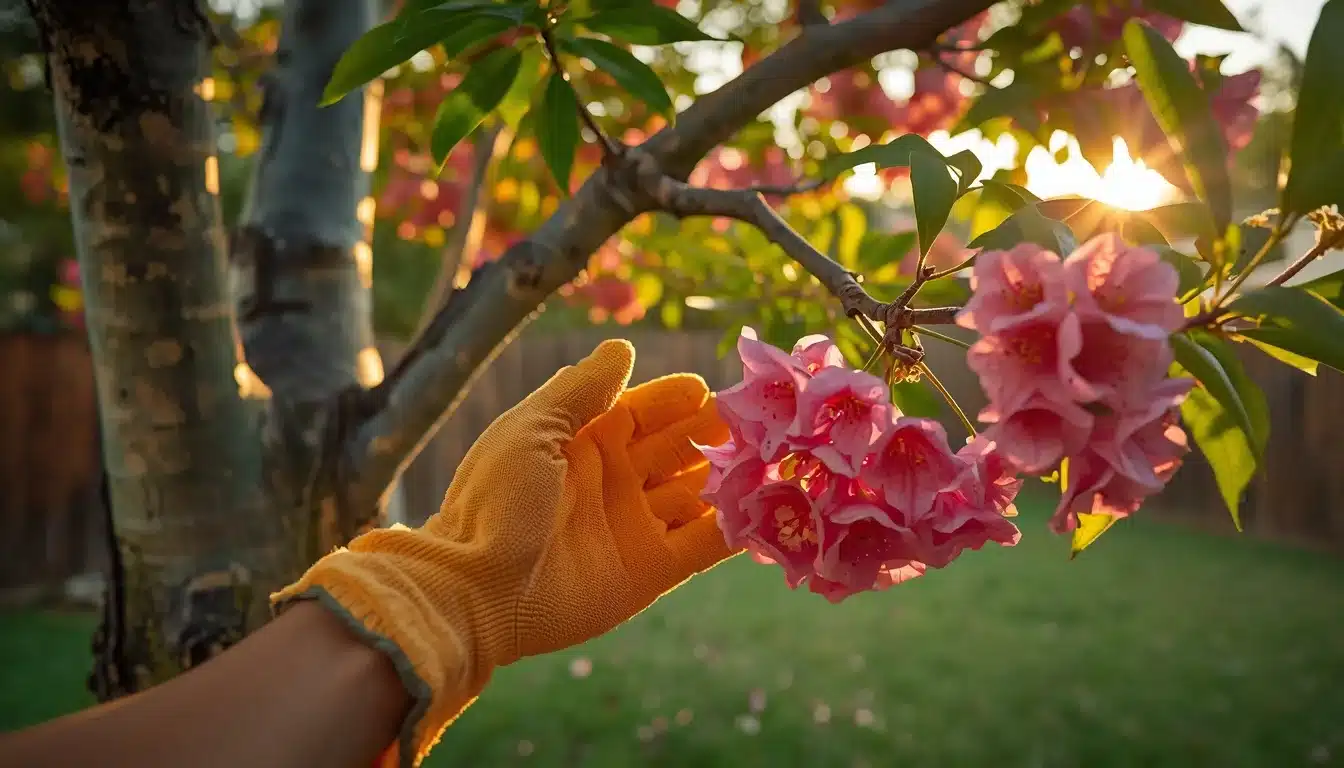
Bigleaf Hydrangeas (Hydrangea macrophylla): These are the ones that can change color based on soil pH. They’re the stars of most gardens with their big, round flower heads. They love consistent moisture and need regular feeding during the growing season.
Panicle Hydrangeas (Hydrangea paniculata): These produce cone-shaped white or pink flowers that age to beautiful shades throughout the season. They’re tougher than bigleaf types and can handle more sun. They also tolerate fertilizer better without going overboard on leaf growth.
Oakleaf Hydrangeas (Hydrangea quercifolia): Named for their oak-shaped leaves, these native beauties prefer acidic soil and organic matter over heavy feeding. They’re more drought-tolerant once established.
Smooth Hydrangeas (Hydrangea arborescens): These bloom on new wood each year, so spring fertilization helps them produce more flowers. They’re less fussy about soil conditions than other types.
The NPK Basics (Without the Confusion)
You’ve probably seen those three numbers on fertilizer bags. They stand for nitrogen (N), phosphorus (P), and potassium (K). Here’s what each one does for your hydrangeas:
- Nitrogen: Grows green leaves and stems. Too much nitrogen creates bushy plants with few flowers. That’s why you want to keep nitrogen moderate for hydrangeas.
- Phosphorus: Develops strong roots and promotes blooming. This is what helps your plant produce those gorgeous flowers.
- Potassium: Strengthens the overall plant and helps it handle stress, disease, and temperature swings. Potassium also helps flowers develop better color.
According to garden experts, hydrangeas do well with balanced formulas. Understanding these specific nutrient ratios for flower production is the secret to moving from a leafy green bush to one covered in heavy blossoms. But here’s the good news: when you’re using homemade fertilizers, you’re rarely dealing with concentrated nutrients, so the risk of overdoing it is much lower.
Micronutrients That Make a Difference
Beyond the big three, hydrangeas also need smaller amounts of:
- Magnesium: Helps produce chlorophyll, the green pigment plants need for photosynthesis. When hydrangeas lack magnesium, you’ll see yellowing between leaf veins while the veins stay green.
- Iron: Prevents yellowing in new leaves. Iron deficiency looks similar to magnesium issues, but shows up in younger growth first.
- Calcium: Strengthens cell walls and supports overall plant structure.
The Color Connection (For Bigleaf Varieties Only)
Here’s how the color-changing magic actually works for bigleaf and mountain hydrangeas:
The flower color depends on the aluminum in the soil. But here’s the catch: the plant can only absorb aluminum when the soil is acidic enough.
A soil pH below 5.5 produces blue flowers, while a pH above 7.0 creates pink flowers. Anything between 5.5 and 7.0 gives you purple blooms.
Before you try changing colors, test your soil pH with a simple kit from any garden center. This saves you time and effort because not all soils will cooperate with color changes, no matter what you add.

Five Homemade Fertilizer Recipes That Actually Work
Let’s talk about what you can make at home. These aren’t miracle cures, but they’re solid, natural fertilizer options for hydrangeas that provide real benefits when used correctly.
1. Coffee Grounds: Separating Fact from Fiction
Walk into any gardening forum, and someone will tell you coffee grounds turn hydrangeas blue. Let’s set the record straight.
What Science Actually Says:
Research from Oregon State University confirms that spent coffee grounds have a near-neutral pH between 6.5 and 6.8. They do not effectively lower soil pH or turn hydrangeas blue.
Used coffee grounds are not acidic enough to change your soil chemistry in a meaningful way. If you are serious about adjusting the floral pigmentation from pink to blue, you will need a more targeted approach than just your morning brew.
What Coffee Grounds DO Provide:
- About 2% nitrogen by volume
- Trace amounts of phosphorus and potassium
- Improved soil structure and texture
- Attraction of earthworms (which improve soil health)
- Possible slug deterrence
How to Use Them Safely:
Mix up to 1 cup of used coffee grounds into the soil around your hydrangea’s drip line (the area directly under the outermost branches) once per month during spring and early summer. Work them into the top few inches of soil rather than piling them on top.
Coffee grounds work best as part of your compost pile, where they add nitrogen to help break down other organic materials. They’re a nice natural fertilizer for hydrangeas, but they’re not a magic solution for blue blooms.
The Better Blue Bloom Method:
If you genuinely want blue hydrangeas, use aluminum sulfate mixed at 1 tablespoon per gallon of water, applied monthly for three months starting in early spring. Always test your soil pH first to make sure you actually need to lower it.
2. Banana Peel Tea: Potassium Without the Hype
Banana peels get a lot of attention in gardening circles. And for good reason: they contain potassium. But let’s be realistic about what they can and can’t do.
The Potassium Content:
Banana peels contain about 42% potassium, making them one of the highest organic sources of this nutrient. They also provide trace amounts of calcium, manganese, and magnesium.
Here’s the Catch:
Research shows that potassium in banana peel water isn’t readily available to plants without breakdown by soil microbes and fungi. Simply soaking peels in water doesn’t make the potassium magically accessible.
Why Use It Anyway:
Even though the potassium transfer isn’t perfect, banana peel tea still provides some nutrients and organic matter that benefit your hydrangeas. Think of it as a gentle supplement, not a primary fertilizer.
Recipe:
- Chop 2-3 banana peels into small pieces.
- Place in a gallon jar and fill with water.
- Let it sit for 2-3 days at room temperature.
- Strain out the peels.
- Dilute the liquid 1:5 with fresh water.
- Apply monthly around the base of your plant.
Application Tips:
Pour the diluted mixture around your hydrangea’s drip line, not directly against the stem. Always water the plant thoroughly before and after applying any fertilizer to prevent root burn.
3. Epsom Salt for Yellowing Leaves
Epsom salt (magnesium sulfate) can help hydrangeas, but only if they actually need it. Let’s be clear about when to use it.
When Your Hydrangea Needs Magnesium:
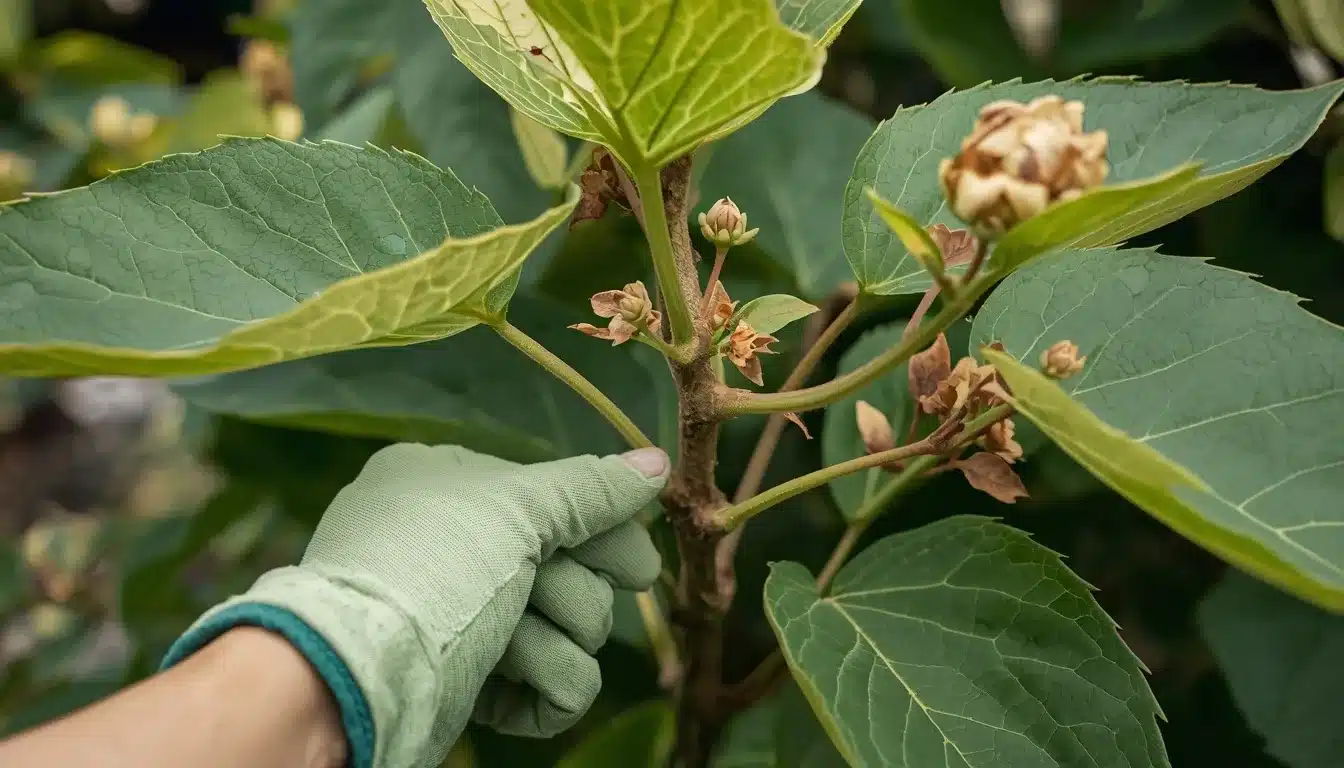
The key symptom of magnesium deficiency is yellowing leaves with green veins remaining visible. If the entire leaf turns yellow, including the veins, that’s usually a nitrogen deficiency or a watering issue, not magnesium.
How Epsom Salt Helps:
Magnesium is essential for chlorophyll production. Without enough magnesium, your plant can’t photosynthesize properly, leading to weak growth and poor flowering.
Recipe:
- 1 tablespoon Epsom salt per gallon of water.
- Mix until fully dissolved.
- Apply at the base of the plant once per month.
- Stop applications by late July.
Important Notes:
Epsom salt does not change soil pH or flower color because it contains both magnesium (which raises pH) and sulfur (which lowers pH), and they counteract each other. Don’t use it thinking it will turn your blooms blue or pink.
Only use Epsom salt if you see actual signs of magnesium deficiency or if a soil test confirms low magnesium levels. Random application when it’s not needed won’t help and may interfere with other nutrient uptake.
4. Eggshell Calcium for Pink Blooms
Eggshells are pure calcium carbonate. They raise soil pH slowly over time, which can shift bigleaf hydrangeas toward pink tones if that’s your goal.
How It Works:
Crushed eggshells break down gradually, releasing calcium into the soil. Higher calcium levels and higher pH make aluminum less available to the plant, resulting in pink flowers instead of blue.
Recipe:
- Rinse and dry 10-12 eggshells thoroughly.
- Crush into fine powder (use a blender or rolling pin)
- Mix into the top 2 inches of soil around your plant in the fall.
- Wait 6-12 months for noticeable effects.
Best For:
- Bigleaf hydrangeas in acidic soil (below pH 6.0)
- Gardeners who want pink or red blooms.
- Adding calcium to improve overall plant health.
This is a slow-acting method. Don’t expect overnight results. The benefit is that eggshells also improve soil structure and provide trace minerals as they decompose.
5. Vegetable Cooking Water (The Easiest Option)
This might be the simplest natural fertilizer for hydrangeas you can make. When you boil vegetables, pasta, or eggs, nutrients leach into the water. Instead of pouring it down the drain, use it on your plants.
What It Provides:
Small amounts of nitrogen, potassium, minerals, and sometimes phosphorus, depending on what you cooked.
How to Use:
- Save water from boiling any unsalted vegetables, pasta, or eggs.
- Let it cool completely (hot water damages roots)
- Pour directly around your hydrangeas.
- Can be used weekly during the growing season.
Important:
The water must be unsalted. Salt damages plants. If you added salt while cooking, don’t use that water in your garden.
This method works best for container hydrangeas, where nutrients leach out faster through drainage holes. It’s a nice supplement, not a replacement for more substantial fertilization.
When and How to Feed Your Hydrangeas
Timing matters almost as much as what you apply. Feed at the wrong time, and you can actually cause problems instead of helping.
Spring: First Feeding (March-April)
This is when your hydrangeas wake up from winter dormancy and start pushing out new growth. Apply a balanced fertilizer in early spring, right as new growth appears. This optimal seasonal timing and placement ensure your shrub has the energy it needs to establish a strong root system before the summer heat.
For homemade options, this is the perfect time for:
- Banana peel tea application.
- Working compost or coffee grounds into the soil.
- First Epsom salt treatment if leaves yellowed last year.
Water deeply before feeding. Water again after application. This prevents fertilizer burn and helps nutrients reach the roots.
Early Summer: Second Feeding (Late May-June)
Some hydrangeas benefit from a light second feeding, especially varieties that bloom on new wood or reblooming types.
The second application should focus on phosphorus and potassium rather than nitrogen, using something closer to a 10-30-20 ratio to boost bloom power.
For homemade feeding:
- Half-strength banana peel tea.
- Vegetable cooking water.
- Epsom salt if magnesium deficiency continues.
Keep this feeding lighter than the spring application.
Mid-Summer: Final Feeding (Early July)
This is the last time you should feed hydrangeas. Fertilizing after mid-summer encourages tender new growth that won’t harden off before winter, increasing frost damage risk. To ensure that late-season growth doesn’t lead to die-back, it is essential to follow a proper winter care routine for hydrangeas as temperatures begin to drop.
Apply to reblooming varieties only. Most hydrangeas should stop receiving fertilizer by this point.
Late Summer Through Winter: No Feeding
Resist the urge to fertilize in the fall. Your hydrangeas need to slow down and prepare for dormancy. Late feeding pushes them to keep growing when they should be hardening off for winter.
During this time:
- Focus on watering only.
- Test soil pH if planning color changes for next year.
- Add mulch in late fall.
- Apply eggshells or sulfur for pH adjustment (these take months to work).
Application Techniques That Prevent Damage
How you apply fertilizer matters as much as what you apply. Follow these guidelines to avoid common mistakes.
The Drip Line Rule
The drip line is the circular area on the ground directly beneath the outermost branches of your hydrangea. This is where the majority of feeder roots live, so this is where you want to apply fertilizer.
Steps:
- Water your plant deeply one day before feeding.
- Apply fertilizer in a circle around the drip line.
- Keep all fertilizers at least 6 inches away from the main stems.
- Lightly scratch fertilizer into the top 2 inches of soil.
- Water thoroughly immediately after application.
This technique ensures nutrients reach the roots without burning the plant.
Container Hydrangeas Need Special Care
Potted hydrangeas leach nutrients faster because water drains through the bottom. They need:
- Feeding every 2-3 weeks instead of monthly
- Liquid fertilizers (easier to control strength)
- Half-strength applications (less risk of burn)
- Monthly flushing with plain water (removes salt buildup)
Warning Signs of Over-Feeding
Stop feeding immediately if you see:
- Brown, crispy leaf edges.
- Lush green growth, but no flower buds.
- Weak, floppy stems that can’t support flowers.
- White salt crust on the soil surface (especially in pots)
Recovery:
Water deeply several times to flush excess nutrients from the soil. Stop all fertilization for 6-8 weeks. Remove damaged leaves. Resume light feeding only after the plant shows healthy new growth.

Troubleshooting Common Hydrangea Problems
Even with good care, problems happen. Here’s how to diagnose and fix the most common issues.
Problem: Yellow Leaves
Yellow Leaves with Green Veins:
This signals iron or magnesium deficiency. Apply Epsom salt solution (1 tablespoon per gallon) monthly to correct magnesium deficiency. For iron, use a liquid iron supplement following the package directions.
Entire Leaf Yellow (Including Veins):
This usually means nitrogen deficiency or overwatering. Check soil moisture first. If the soil is soggy, you’re watering too much. If it’s dry and nitrogen is the issue, add compost or a very diluted solution of fish emulsion.
Problem: No Blooms
Possible Causes:
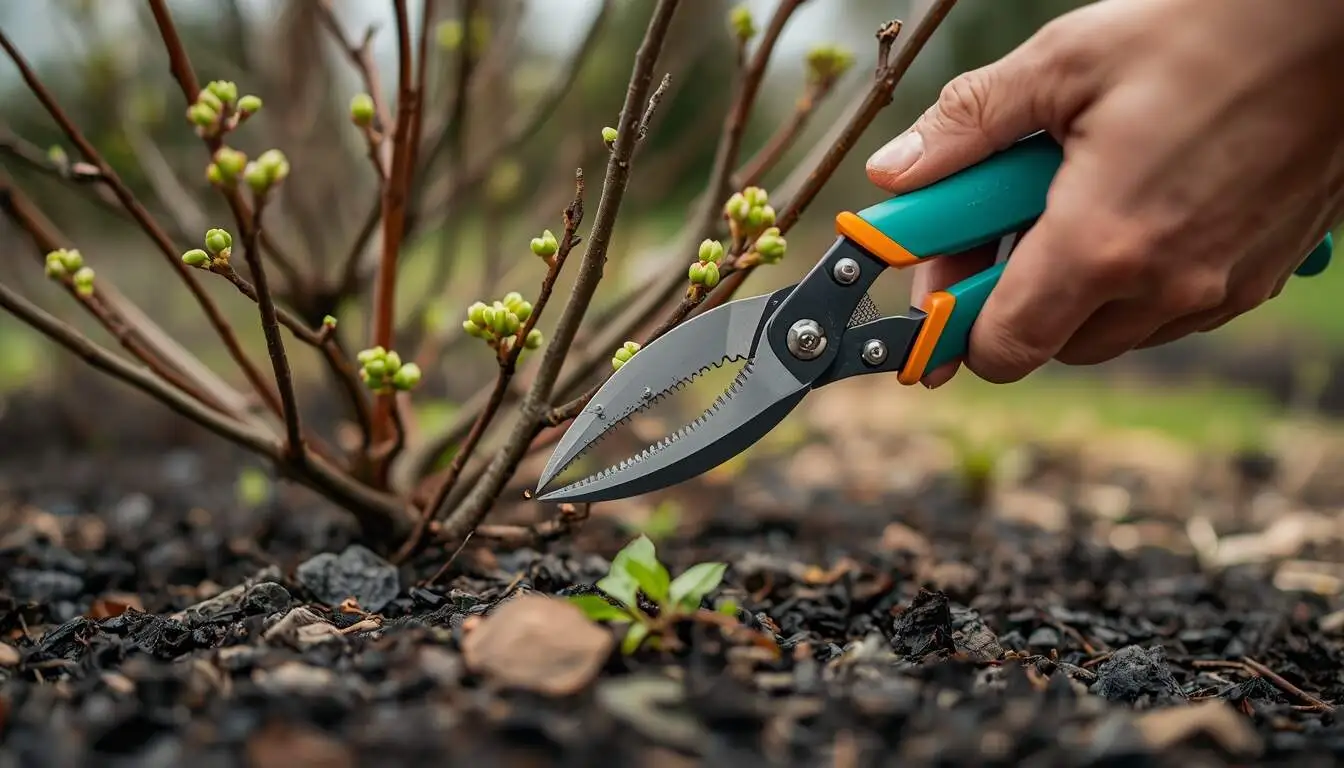
- Too Much Nitrogen: or improper stem management. You may have accidentally cut off last year’s flower buds, which is a common mistake for varieties that bloom on old wood.
- Wrong Pruning Time: You may have cut off flower buds. Learn when your specific variety blooms and when to prune.
- Winter Damage: Buds froze before they could open. Choose hardier varieties for your climate or provide winter protection.
Problem: Brown or Burnt Leaf Tips
This is fertilizer burn. It happens when:
- Fertilizer touches plant stems or leaves directly.
- Soil is dry when you fertilize.
- You apply too much at once.
Fix:
- Flush the soil with deep watering.
- Only apply fertilizer to the drip line area.
- Always water before and after feeding.
- Cut back on feeding frequency.
Problem: Hydrangeas Won’t Change Color
Reality Check Time:
Only bigleaf (H. macrophylla), lacecap, and mountain (H. serrata) hydrangeas change color. White varieties never change color, and color shifts take 2-3 seasons of consistent pH management to fully appear.
Additionally, your soil must contain aluminum. Not all soils do. Even with perfect pH, if there’s no aluminum, you won’t get blue flowers.
If You Want to Try:
Test your soil pH first. Use professional amendments (aluminum sulfate for blue, lime for pink) rather than home remedies. Be patient. The process is gradual, not instant.
Frequently Asked Questions
Q: How much water do hydrangeas need?
Hydrangeas need about 1 inch of water per week, delivered through three separate watering sessions. Water deeply at the base, never overhead. Check soil moisture before watering by sticking your finger 1-2 inches into the soil. If it feels dry, water. If it’s still moist, wait.
Q: Can I use coffee grounds on white hydrangeas?
Yes, but they won’t change the color. White varieties stay white regardless of soil pH. Coffee grounds simply add organic matter and a small amount of nitrogen to improve soil structure.
Q: Will vinegar turn my hydrangeas blue?
No. While vinegar temporarily lowers pH, it can harm beneficial soil microbes, and the effect is short-lived. Use aluminum sulfate products designed for this purpose instead.
Q: Is milk good for hydrangeas?
Diluted milk (1 part milk to 4 parts water) provides calcium and supports beneficial soil bacteria. Apply once in spring as a supplement. Don’t overdo it, as the fat content can attract pests and create odors.
Q: Should I fertilize newly planted hydrangeas?
Wait 6-8 weeks after planting. New plants from nurseries come pre-fertilized. Focus on consistent watering first to help roots establish. Over-fertilizing young plants causes more harm than good.
Q: What if my banana peel tea smells bad?
Fermentation creates strong odors. This is normal. Apply in the evening and water it in well. The smell fades within 24 hours. If the smell bothers you, use shorter soaking times (2-3 days instead of a week).
Q: Can I use grass clippings as mulch around hydrangeas?
Yes, in thin layers of about 1 inch. Fresh grass clippings generate heat as they decompose, which can damage plants if piled thick. Let clippings dry first, then apply a light layer and add more as it breaks down.
Building Your Simple Feeding Plan
You don’t need to do everything. Pick an approach that fits your schedule and stick with it.
Beginner’s Plan: Keep It Simple
- Spring: One application of compost or balanced fertilizer (10-10-10)
- As Needed: Epsom salt if leaves show yellowing with green veins.
- Fall: Test soil pH and add amendments for next season.
This minimal approach works well for most gardeners. Hydrangeas aren’t heavy feeders, so basic care often produces great results.
Enthusiast’s Plan: Maximum Blooms
- Early Spring: Compost or slow-release fertilizer
- Late Spring: Banana peel tea application
- Early Summer: Second feeding at half-strength
- Monthly Through July: Epsom salt or vegetable water as supplements
- Mid-Summer: Final light feeding for reblooming varieties
This schedule provides optimal nutrition for the biggest, most abundant blooms.
Color Changer’s Plan (Bigleaf Varieties Only)
- Fall: Amend soil pH with aluminum sulfate (for blue) or lime (for pink)
- Spring: Continue pH amendments monthly for the first three months
- Summer: Low-phosphorus fertilizer like 12-4-8
- Every 3 Months: Test pH to monitor progress
Changing colors requires patience and consistency. Expect 2-3 seasons before seeing full results.
Tips from Real Gardening Experience
Mulch Matters More Than You Think
A 2-3 inch layer of organic mulch (pine bark, shredded leaves, or compost) provides multiple benefits:
- Slow-release nutrients, as it breaks down naturally
- Moisture retention (critical because hydrangeas need consistent water)
- Temperature regulation that protects shallow roots
- Weed suppression that reduces competition for nutrients
Replace mulch annually in spring. Keep it 2-3 inches away from plant stems to prevent rot.
Water Beats Fertilizer Every Time
Hydrangeas require about 1 inch of water per week during the growing season, delivered deeply to encourage extensive root systems. Dry soil prevents nutrient uptake, no matter how much you fertilize.
Check soil moisture regularly. When the top inch feels dry, water deeply at the base. Morning watering is best because it allows foliage to dry before evening, reducing disease risk.
Patience Pays Off
First-year hydrangeas focus energy on root development, not flowers. Don’t expect massive blooms the first season. Color changes take 2-3 years of consistent pH management. Overfeeding young plants causes more problems than underfeeding.
Observe Before You Act
If your hydrangea has green leaves and produces decent blooms, it doesn’t need aggressive feeding. Sometimes the best fertilizer for hydrangeas is restraint. “Less is more” prevents the problems that come from over-fertilization.
Conclusion: Healthy Soil Creates Happy Hydrangeas
Beautiful hydrangeas start underground. By using homemade fertilizers from kitchen scraps, you’re improving soil structure, providing nutrients, and reducing waste all at the same time. You don’t need expensive products to get gorgeous blooms.
Remember These Key Points:
- Match your feeding approach to your hydrangea variety.
- Time applications to avoid winter damage.
- Water before and after feeding to prevent burns.
- Testthe soil before attempting color changes.
- Trust the process because results take time.
The best fertilization plan is the one you’ll actually follow consistently. Start with one or two simple methods, watch how your plants respond, and adjust based on what you see.
Your hydrangeas will reward your care with bigger, healthier blooms season after season. Whether you’re using coffee grounds, banana peels, or just plain compost, you’re giving your plants what they need to thrive naturally.
Now get out there and make those hydrangeas amazing.