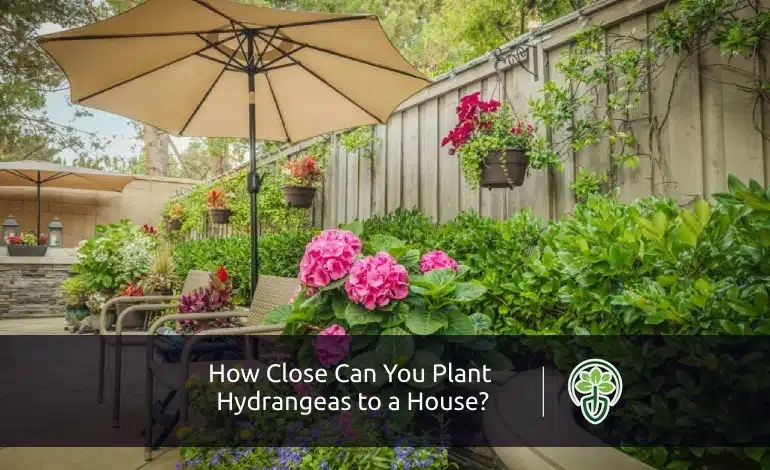
What Side of the House Do You Plant Hydrangeas?
A garden with hydrangeas is like a sky with stars. It fills the garden with color and cheer. Moreover, hydrangeas are easy to grow as long as you plant them in the right place. So, what side of the house do you plant hydrangeas?
The best place to grow hydrangeas is the east-facing location at your home. The east side of the house is ideal for planting hydrangeas because it receives morning sunlight. The intensity of the morning sun is generally milder than the harsh afternoon sun.
Planting hydrangeas in the wrong spot can affect their growth, health, and bloom quality. The plant will experience insufficient light, excessive heat, wind exposure, and other potential issues.
Knowing which side of the garden to plant hydrangeas can help them maintain lush blooms. This article will guide you on where to plant hydrangeas to bloom. Before deciding on the best location, it’s essential to know about hydrangeas in detail.
Let’s get started.
What are Hydrangeas?
Hydrangeas, or Hortensia, is a genus of over 70 flowering plants from Asia and the Americas. It is considered a shrub that blooms in Spring and Summer. Hydrangeas produce large, spherical clusters of flowers.
Depending on the species, these clusters can be rounded, cone-shaped, or flat-topped. Hydrangeas grow quickly and can reach up to 15 feet in height. It often fills in a space in just one summer and lasts throughout summer.
Hydrangea leaves are large, green, and have a serrated edge. They provide a lush backdrop to the vibrant blooms. Moreover, hydrangeas have fibrous root systems that spread horizontally. They require well-drained soil and consistent moisture to thrive.
What Side of the House Do You Plant Hydrangeas?
Planting hydrangeas on the east side of a house is ideal because it offers morning sunlight, which is essential for most hydrangea varieties, including Bigleaf and Oakleaf. The morning sun provides the light needed for photosynthesis, helping the plants begin their day strong. This east-facing position also protects hydrangeas from the intense afternoon heat, as buildings and trees cast shade during the hottest part of the day, reducing the risk of heat stress and dehydration. Additionally, the soil on the east side tends to stay moist longer due to night irrigation and morning dew, which hydrangeas prefer for healthy growth. This location also shields the plants from strong winds, providing a more stable environment.
The Mathilda Gutges hydrangea is a charming variety known for its large, conical white flower clusters that gradually turn pink as they mature. It thrives best in similar conditions as other hydrangeas, benefiting from morning sunlight and protection from harsh afternoon sun. This variety adds elegance to gardens with its striking blooms and long flowering period, making it a favorite among hydrangea enthusiasts.

Alternate Planting Spots for Hydrangeas
No, each side in the same garden is the same. If the eastern side of your home is not accessible, you can consider other spots. There are some pros and cons to planting hydrangeas on each side of the garden. Let’s learn about them.
North Side
The north side of the house is considered the second-best option for planting hydrangeas. The first reason is that this side gets good morning sunlight. But it offers shade for a significant part of the day.
Therefore, the northern side is ideal for hydrangeas like Bigleaf and Smooth hydrangeas. They thrive in partial to full shade. However, ensure enough indirect light for healthy growth and blooming.
South Side
The southern side usually gets too much sun than the other part of the yard. If you are not living in a hot climate, the south side can be suitable for many hydrangeas varieties.
You can plant panicle hydrangeas in a south-facing area. Other hydrangeas types that require minimum partial sunlight can flourish on the south side. However, they need to be watered more frequently to thrive.
West Side
The west-facing area receives the most intense sunlight, particularly during the afternoon. The afternoon sun can be brutal. Due to its potential heat stress, the west side is considered an imperfect spot for planting hydrangeas.
The afternoon sun completely dries out the shrubs. They have no time to recover before nightfall. If you have no option left other than planting on the west side, you can opt for planting panicle hydrangeas.
Use shade cloth and structures, or plant taller trees to provide shade. Also, place a soaker hose around the base of the shrub. So, they get shade and enough water to combat the afternoon sun heat.
Consider Potted Hydrangeas
If you don’t have the perfect growth conditions for hydrangeas, you can consider planting them in pots. You can enjoy their beautiful blooms even if you have limited garden space.
You can place them on a deck, porch, or patio. The best part is that potted hydrangeas offer flexibility when placed in different locations. You can move them to any place that gets proper sunlight.
Also, you can keep them in a garage or shed during winter and enjoy their blooms after a year. Select a pot that is at least 18-24 inches in diameter and depth to hold the root.
Ensure the pot is twice the size of the existing root ball of the hydrangeas. Choose ceramic, terracotta, or plastic pots with drainage holes. Potted hydrangeas require dappled sunlight. They may need more water due to less soil.
What to Consider Before Planting Hydrangeas Near Your Home’s Foundation
When you’re planning to plant hydrangeas near your home, it’s important to consider more than just the beauty these stunning plants bring. While hydrangeas are generally low-maintenance, planting them too close to your house can lead to a few complications that are easily avoidable with a little forethought. Let’s dive into what you need to keep in mind before placing them too near your home’s foundation.
Space for Growth
One of the first things to consider is the amount of space you’re giving your hydrangeas. These plants can grow quite large, depending on the variety. Big, lush hydrangeas need room to spread their branches and develop their root systems, so planting them right next to your house may restrict their growth. Maintaining safe spacing for home foundations ensures that the roots have enough room to thrive without interfering with the building’s structural integrity.
Air Circulation and Moisture
Airflow is key when planting near your house, especially in humid climates. The foundation of your house can trap moisture around the roots, and hydrangeas being moisture-loving plants can thrive in slightly damp soil, but too much moisture near your foundation can cause problems. If they’re planted too close, the soil might become too soggy, which could encourage mold or mildew growth. Giving your hydrangeas a little breathing room will help prevent this.
Foundation and Plumbing Concerns
Hydrangea roots are generally non-invasive, but when planted too close to the foundation, they could eventually become problematic. In rare cases, if the plant doesn’t have enough space its roots might make their way toward plumbing pipes, foundation cracks, or even windowsills, especially in older houses with softer concrete or less stable foundations. While hydrangeas aren’t known for causing major damage, giving them enough space will minimize any risk to your home’s structure.
Preventing Maintenance Issues
When hydrangeas are planted close to your foundation, it can also make routine maintenance around your house a bit more challenging. Weeds, pests, and leaves can accumulate along the foundation, and having plants too close can make it harder to clear them. By giving your hydrangeas enough space, you’ll make it easier to keep the area neat and tidy while allowing the plants to thrive.
How to Create the Perfect Growing Environment for Hydrangeas Around Your House
If you’re looking to bring a touch of elegance and beauty to the exterior of your home, hydrangeas are a fantastic choice. But for them to grow healthy and vibrant, it’s crucial to create the ideal environment around your house. Here’s a guide to help you design the perfect spot for hydrangeas, making sure they not only thrive but enhance your home’s curb appeal.
Consider the Sunlight: A Balancing Act
Hydrangeas thrive best in partial shade, which makes them an ideal plant for areas with morning sun and afternoon shade. So, how do you find that perfect spot around your house? If your home faces east, planting hydrangeas near the east side can provide them with gentle morning sunlight, which helps them grow without being scorched by the midday heat. On the other hand, if you have a north-facing wall, hydrangeas can still do well there, as they’ll enjoy the cooler, shadier environment. Avoid planting them on the south or west sides if you live in a hot climate as the intense afternoon sun could stress the plant.
Soil Quality: Make It Rich and Moist
Hydrangeas are quite particular when it comes to soil. They prefer rich, well-drained, slightly acidic soil. Before planting, consider amending your soil with organic compost to improve both texture and fertility. This will ensure that the hydrangeas get the nutrients they need while also improving drainage, which prevents water from collecting too close to the roots. If your soil is alkaline, you may need to adjust the pH by adding soil acidifiers to give your hydrangeas the best chance of flourishing.

Room to Grow: Allowing for Spacing
While hydrangeas are relatively compact when young, they can grow quite large as they mature, so make sure you give them plenty of space. Plant them about 3 to 5 feet apart depending on the variety to allow for air circulation and prevent overcrowding. If you’re planting multiple hydrangeas near your home, make sure there’s enough space for them to stretch out without touching each other or your walls. This spacing also prevents the plants from competing for nutrients so each hydrangea has a better chance of thriving. Once you have established your spacing, you can consider short companion plants for layering to fill the remaining gaps and create a professional, multi-dimensional look in your flower beds.
Protection from Wind and Harsh Conditions
While hydrangeas are hardy plants strong winds can damage their large blooms or even uproot the plant. If your house is in an area that experiences heavy winds, consider planting hydrangeas on the side that is naturally shielded from the wind, such as the side that has a natural fence, a tree, or other plants that can provide a windbreak. Protecting your hydrangeas from harsh wind conditions will help them grow stronger and maintain their beautiful blooms throughout the season.
Watering Needs: Don’t Overdo It
Hydrangeas love water but can suffer from root rot if the soil doesn’t drain properly. When you plant hydrangeas around your house, especially near the foundation, make sure the area is well-drained. If the soil tends to stay wet, it may be worth adding some mulch around the base of the plant to help regulate moisture levels. Be careful not to overwater and make sure that any excess water doesn’t accumulate around the foundation, as this could lead to other issues like mold or erosion.
What is the Best Time to Plant Hydrangeas?
Early spring and early fall are the best times to plant hydrangeas. Hydrangeas planted in early spring can establish their root systems before the heat of summer sets in.
Spring has cooler temperatures and increased rainfall. It provides favorable conditions for root development. Early fall planting gives hydrangeas time to develop roots.
The soil is still warm, but the air temperatures are cooler during the early fall. The cool weather and increased likelihood of rain make the plants ready to thrive in the spring.
How to Plant Hydrangeas?
Now, you have learned in which direction and when to plant hydrangeas at home. It’s time to learn how to plant hydrangeas.
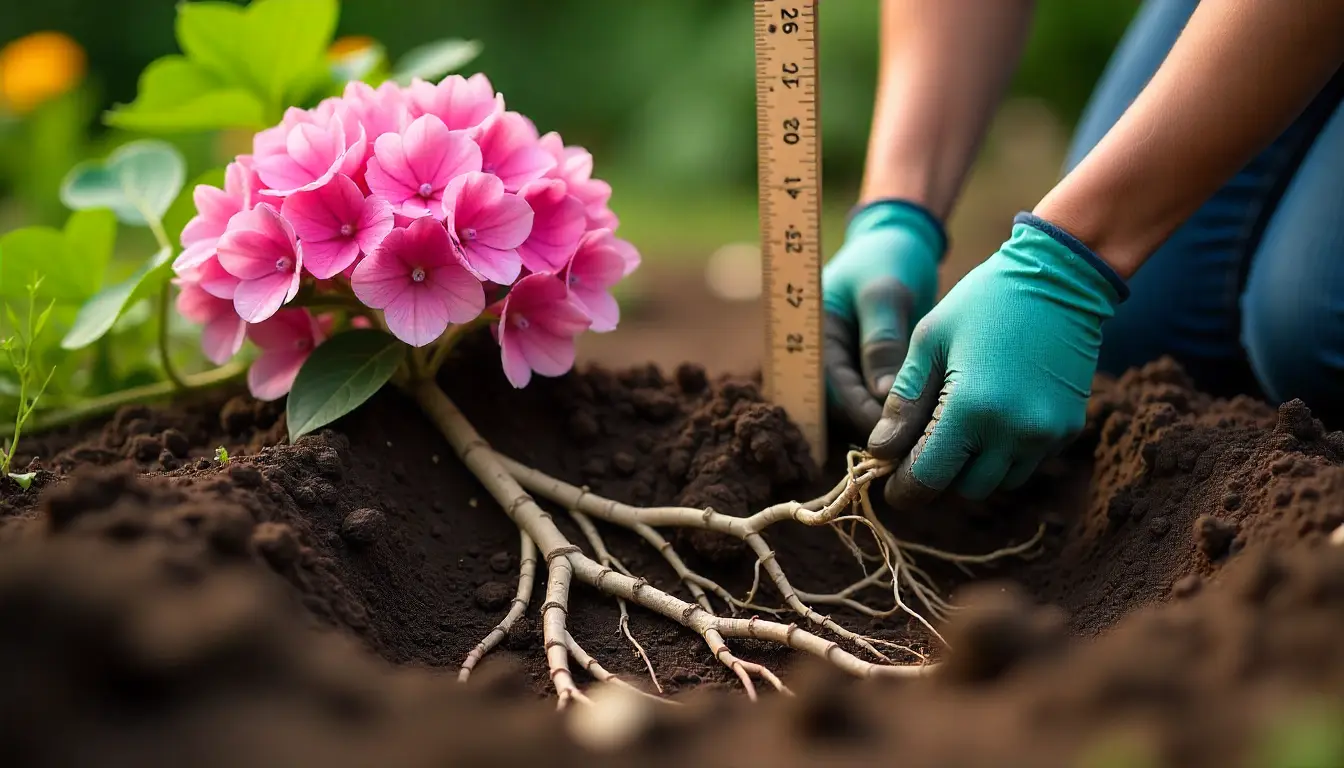
- Digging the Hole: Dig a hole twice as wide and deep as the root ball of hydrangeas.
- Preparing the Root Ball: Gently loosen the roots of the hydrangea before planting.
- Positioning the Plant: Place the hydrangea in the hole. Make sure that the top of the root ball sits level with or higher than the surrounding soil.
- Backfilling and Watering: Fill the hole with soil and gently set it around the root ball. Water thoroughly to settle the soil around the roots.
- Mulching: Apply a 2-3-inch layer of mulch around the base away from the stem to prevent rot.
How to Propagate Hydrangeas?
Propagating hydrangeas is a great way to increase your plant collection. You can turn one small branch of hydrangeas into many. So, you can share these beautiful bushes with friends and family. Propagation can be done by cutting or layering.
Propagation from Cutting
Cutting is the most common and effective method of propagating hydrangeas. Here are the steps to propagate hydrangeas from cuttings.
- Choose a healthy hydrangea plant with no signs of disease or pests.
- Cut 4-6-inch pieces from the tips of new growth just below a leaf node.
- Remove the bottom pair of leaves.
- Dip the cut end of each cutting in rooting hormone powder to encourage root growth. (Optional)
- Fill small pots with a well-draining potting mix.
- Make a hole in the soil with a pencil and insert the cutting.
- Firm the soil around the cutting to make sure it stays upright.
- Water the cuttings thoroughly.
Place the pots in a bright-light location. Check for roots in 4-6 weeks by gently pulling on the cuttings. After the cuttings have established firm roots, transplant them into larger pots or directly into the garden.
Propagation by Layering
Layering is another effective method, particularly for hydrangeas with flexible branches. Follow the steps below to propagate hydrangeas by layering.
- Choose a healthy, flexible branch that can be bent to the ground.
- Make scratches on the underside of the branch where it will touch the soil.
- Bend the branch to the ground and cover the wounded section with soil.
- Place a paver, brick, or stone on top to secure the branch.
- Water the soil around the layered branch regularly to keep it moist.
The branch will form its rooting system in a few months. Check for roots by gently pulling on the buried part. Once roots have developed, transplant the new plant to its permanent location.
Tips to Care for Hydrangea
Hydrangeas are beloved for their large, attractive blooms and lush leaves. But Hydrangeas need specific care to thrive and produce their best flowers. Here are essential tips for caring for hydrangeas:
- Keep the soil constantly moist but not wet. Hydrangeas have shallow root systems. They need regular watering, especially during dry periods.
- Apply a 2-3-inch layer of mulch around the base to retain moisture.
- Use a balanced, slow-release fertilizer (10-10-10) in early spring.
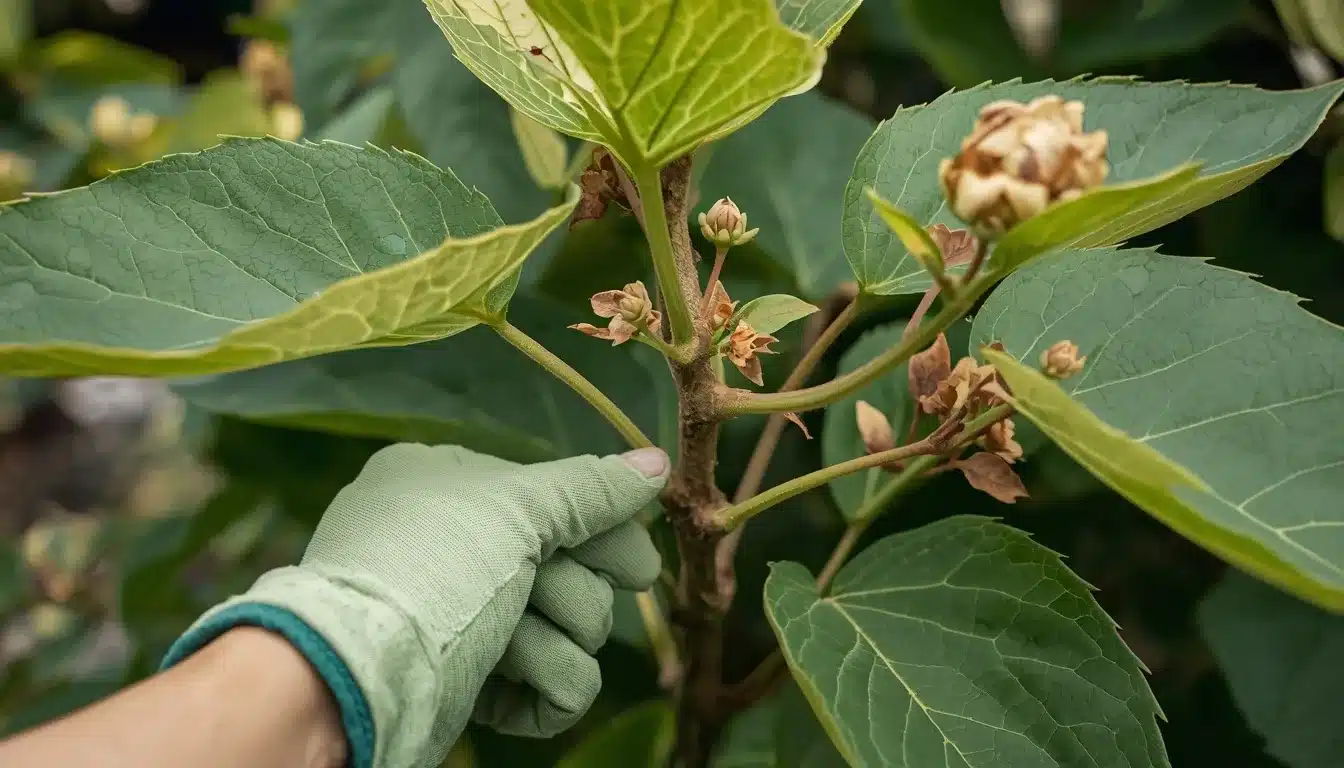
- Prune hydrangeas based on their type to encourage healthy growth.
- Watch for aphids, spider mites, etc. Treat infections with neem oil.
Final Words
The presence of hydrangea in the garden brings a touch of elegance and timeless charm. For this, you need to know which side of the house you plant hydrangeas.
Though no standard place exists, the best option is to plant on the east side. Every home has a different garden with different conditions. So, know your garden condition first and grow the right hydrangea species in the right spot.
FAQs
When to plant hydrangeas?
The best time to plant hydrangeas is either early spring (April to May) or early fall (September to October). These seasons offer cooler temperatures and more consistent moisture, which help reduce transplant stress and allow the plant to establish roots before extreme heat or winter dormancy. Spring planting gives hydrangeas time to settle before summer, while fall planting helps roots grow before winter. Avoid planting late fall to ensure roots establish in time for winter.
The optimal timing may slightly vary depending on the hydrangea type and growing zone, but spring and early fall remain the general best windows for planting. Planting in early morning or late afternoon is also recommended to avoid heat stress on the first day.
How to plant hydrangeas?
To plant hydrangeas successfully, choose a location with morning sun and afternoon shade, and ensure the soil is well-drained and rich in organic matter. Dig a hole about 2 to 3 times wider than the root ball and just deep enough so the plant’s crown (where stems meet roots) sits level with the soil surface. Gently loosen any circling roots before planting, backfill with amended soil mixed with compost, and water deeply. Space plants 3 feet apart or more, depending on their size. Mulch around the base to retain moisture and protect roots.
For container planting, use high-quality potting mix with slow-release fertilizer and ensure proper drainage. Keep hydrangeas consistently watered, especially during the first growing season.
What is the best time to plant hydrangeas?
The best time to plant hydrangeas is either early fall or spring, depending on your climate. In areas with mild winters, planting in September or October allows roots to establish before winter dormancy. In colder climates, early to mid-spring (April or May) after the last frost is ideal so hydrangeas have a full growing season to develop strong roots and foliage. Plant at least six weeks before the first frost in fall to ensure root establishment and avoid planting too late to prevent frost damage.
Hydrangeas thrive in well-drained soil with morning sun and afternoon shade, and planting in early morning or late afternoon helps avoid heat stress at transplant.