How to Graft Wisteria? Step By Step Guide
Let me be honest with you, grafting wisteria isn’t as “easy” as some articles claim. I’ve successfully done it, and I’ve also watched grafts turn brown and fail. But here’s the thing: when it works, you get a wisteria that blooms years faster than one grown from seed, and you know exactly what color flowers you’ll get.
Most people ask me: “Can you even graft wisteria?” Yes, absolutely. It’s actually more reliable than growing from cuttings for certain varieties. But you need to know what you’re getting into.
What you’ll actually need: About 3-4 hours for your first graft, $15-20 in supplies, and patience to wait 6-8 weeks to see if it worked.
Real success rate: For beginners doing their first few grafts, expect about 40-60% success. Once you get the hang of it, that jumps to 70-80%. Professional nurseries hit 85-90%, but they do this daily.
Bottom line: If you have a wisteria you absolutely love and want more of it, grafting is your best bet. If you just want any wisteria, buying a plant is easier.
What is Grafting?
Grafting is a technique that involves physically uniting two distinct plants to blend their unique characteristics. Many of the trees and shrubs available in local nurseries have undergone propagation through grafting. In a grafted plant, one plant provides the root system, and another provides the shoot system.
Conceptually, grafting can refer to an organ transplant. The resulting plant contains genetic material from both contributing plants. Grafting is a horticultural technique used to join tissues from one plant. The purpose of grafting is to combine one plant’s characteristics with another’s advantageous growth properties. This process allows for the propagation of plants with specific qualities, such as improved disease resistance, altered flowering patterns, or enhanced vigor.
Can Wisteria be Grafted? (And Should You?)
Yes, wisteria can be grafted, but let’s talk about whether you should actually do it.
Here’s when grafting makes sense:
You have a specific wisteria with amazing flowers (color, size, fragrance) and want an exact copy. Seeds won’t give you the same plant, and cuttings from wisteria are hit-or-miss.
You want flowers faster. A grafted wisteria can bloom in 2-3 years. Seed-grown wisteria takes 7-15 years, and you never know what you’ll get.
You need to save a dying wisteria. If the roots are good but the top is damaged, you can graft new growth onto it.
Alternative to consider: If you have access to a mature wisteria branch, you can leave it undisturbed for several months; air-layering wisteria offers better success rates than cuttings without requiring grafting skills. It’s my go-to method when I want to propagate a branch that’s too thick for traditional cuttings.
When you shouldn’t bother:
If you just want “a wisteria” and don’t care about the specific variety, buy one from a nursery. They’re already grafted professionally.
If this is your first time propagating any plant, start with something easier, like pothos or succulents. Wisteria grafting has a learning curve.
The real comparison:
| Method | Time to Flowers | Success Rate | Clones Parent? | Cost | Best For… |
| Buying Grafted | Immediate – 1 Year | 95%+ | Yes | $30–60 | Instant results & reliability |
| Grafting | 2 – 3 Years | 40 – 60% | Yes | $15–20 | Expanding an existing orchard |
| Cuttings | 3 – 5 Years | 20 – 40% | Yes | $5 | Low-cost cloning |
| Seeds | 7 – 15 Years | 80%+ | No | Free | Fun experiments & rootstock |
I use grafting when I have a wisteria I truly love and want more of it in my garden or to share with friends. Otherwise, I buy plants.
Want to try propagating wisteria from cuttings instead?
It’s less reliable than grafting (about 20-40% success rate), but it’s cheaper and simpler if you’re just experimenting. The process involves taking softwood cuttings in early summer and rooting them in a humid environment. If you’d like to compare both methods side-by-side, check out our complete guide on growing wisteria from cuttings, which walks through the timing, preparation, and rooting techniques.
How to Graft Wisteria?
Grafting wisteria is an easy process that allows gardeners to preserve specific traits of this beautiful flowering vine. You can successfully graft a wisteria tree to create stunning specimens in your garden. Here are the 10 easy steps to graft Wisteria:
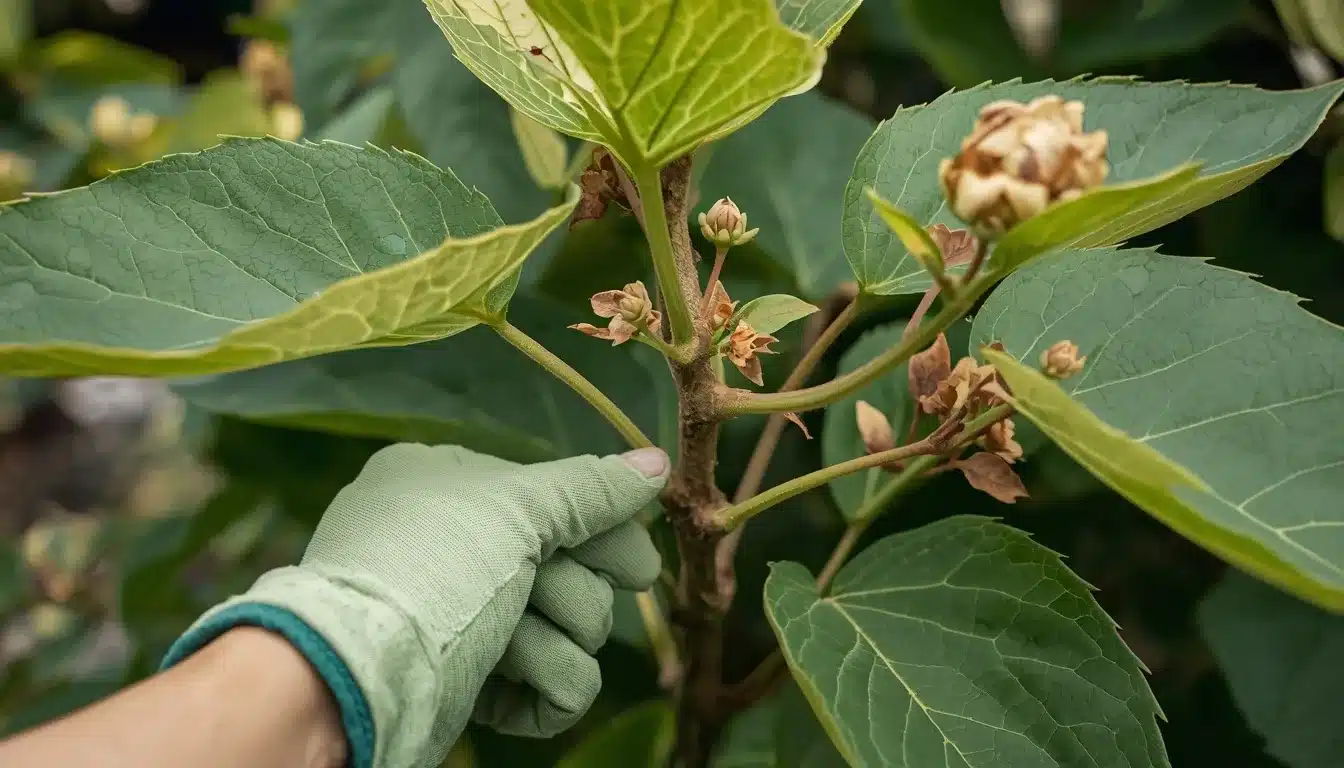
Step 1: Select Healthy Rootstock and Scion Wood
Select a healthy rootstock wisteria plant with a well-developed root system. Look for a plant that exhibits vigorous growth and is disease-free or pest-free. Similarly, collect scion wood from a mature wisteria plant you wish to propagate.
Step 2: Prepare the Rootstock
Use a sharp grafting knife to make a clean, diagonal cut on the rootstock wisteria stem. The cut should be made at a 45-degree angle and positioned approximately 6-8 inches above the soil line. This fresh cut will provide a suitable surface for grafting.
Step 3: Prepare the Scion Wood
Prepare the scion wood by trimming the base. Trimming will help to match the angle of the rootstock cut. Remove any excess foliage or side shoots. Handling the scion wood with care to avoid damaging the delicate tissues.
Step 4: Make a Vertical Slit in the Rootstock
Carefully create a vertical slit or tongue in the center of the rootstock stem. The slit should start from the center of the cut and extend downward for approximately 1 inch. Take care not to split the stem completely.
Step 5: Insert the Scion into the Rootstock
Insert the trimmed end of the scion wood into the opening in the rootstock. Ensure that the cambium layers of both the scion and rootstock align perfectly.
Step 6: Secure the Graft Union
Once the scion is in place, secure the graft union using grafting tape or rubber bands. The wrapping should allow room for growth and expansion. Securing will help maintain alignment and stability during the healing process.
Step 7: Apply Grafting Wax or Sealant
Apply grafting wax or sealant to protect the exposed graft union from moisture loss and pathogens. To create a protective barrier, ensure the entire graft union is covered with wax. Wax helps in preventing infection and promoting successful graft healing.
Step 8: Label the Grafted Plant
Label the grafted plant with the cultivar name and date of grafting. This labeling ensures that you can track the progress of the graft and identify the specific variety.
Step 9: Provide Ideal Growing Conditions
Place the grafted wisteria in a humid environment with indirect light. It will promote healing and growth. Avoid exposure to extreme temperatures or drying winds, which can stress the plant. Keep the soil evenly moist but not waterlogged to support root development.
Step 10: Monitor and Care for the Graft
Regularly monitor the graft union for signs of healing. Maintain a vigilant eye for signs of stress or disease and take appropriate action. Provide ongoing care and attention to the grafted wisteria. Ensure it receives adequate water, nutrients, and protection from pests and environmental stressors.
How to Tell If Your Graft Worked (Or Failed)
This is what nobody tells you clearly, so here’s exactly what to watch for:
Week 1-2: The Waiting Period
What’s happening: Nothing visible. The graft union is forming callus tissue internally.
What you should see: The scion wood stays green/brown (its normal color). The tape stays in place.
Bad sign: Scion turns black or completely shriveled. It failed. Remove it and try again.
Week 3-4: First Real Signs
Good signs:
– Scion stays plump, not shriveled
– Small swelling at the graft union (tissue growing together)
– Buds on the scion start to swell slightly
Bad signs:
– Scion is dry and brittle
– No swelling at all at the union
– Everything looks the same as day 1 (usually means no connection happened)
Week 6-8: Confirmation
Success looks like:
– Buds break, and tiny leaves emerge from the scion
– Clear swelling/callus at the graft point
– Scion is firmly attached (doesn’t wiggle if you VERY gently touch it)
Failure looks like:
– Scion is brown/black and dried out
– Falls off when you touch it
– Buds never opened
My actual results:
Out of my first 5 grafts, 2 succeeded, 3 failed. The failures all showed the same thing: the scion dried out by week 3. I learned I wasn’t keeping them humid enough.
Out of my next 18 grafts, 12 succeeded. What changed? I covered each graft with a clear plastic bag (poked holes for air) for the first 4 weeks. Huge difference.
When to remove the tape: Week 8-10, after you see new growth. Cut it off with scissors; don’t try to unwrap it, or you might damage the union.
When to remove the wax: Leave it. It’ll weather off naturally over 6-12 months. If you pick it off, you risk damaging the healing graft.
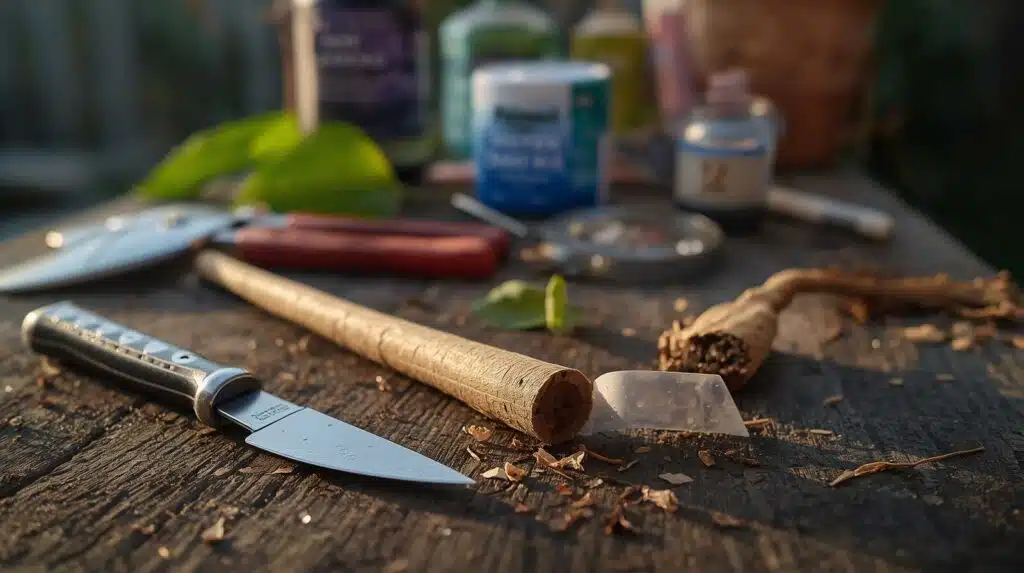
What You Actually Need for Grafting Wisteria
Forget the complicated lists. Here’s what I use and what it costs:
1. Sharp grafting knife ($12-25)
I use a Felco 3.90 F. Any grafting knife works, but it MUST be sharp—dull blades crush plant tissue and your graft will fail. I sharpen mine before every grafting session.
Why you need it: You’re cutting living tissue that needs to heal together. Crushed, ragged cuts won’t heal.
2. Grafting tape ($8 for a roll that lasts 50+ grafts)
I use Parafilm grafting tape. It stretches, breathes, and breaks down naturally.
Why you need it: Holds everything together while it heals. Regular tape doesn’t stretch as the plant grows.
3. Grafting wax ($6-10)
Any grafting wax or tree wound sealer works. I use Doc Farwell’s Grafting Seal.
Why you need it: Seals the cut so it doesn’t dry out or get infected. Like a bandage.
4. Rubbing alcohol or bleach solution (probably already have it)
For sterilizing your knife between cuts.
Why you need it: Plant diseases spread easily. One infected cut can kill multiple grafts.
5. Clean pruning shears ($15-30)
For collecting your scion wood cleanly.
Optional but helpful:
– Magnifying glass ($5) – Helps you see the cambium layer, especially if your eyesight isn’t perfect
– Labels and permanent marker ($3) – Trust me, you’ll forget which graft is which variety
Total cost: About $50-70 for everything. The supplies last for years.
Don’t have a grafting knife? You can use a very sharp utility knife or box cutter for your first attempt, but upgrade if you plan to do this regularly.
When to Actually Graft Wisteria (Real Dates for Your Area)
Late winter to early spring” is vague. Here are actual dates:
If you’re in Zone 6-7 (most of the US mid-section): Late February through March
If you’re in Zone 8-9 (southern states): January through early February
If you’re in Zone 5 or colder: Mid-March through early April
If you’re in Zone 10+ (far south/California): December through January
The real rule: Graft when your wisteria buds are swelling but haven’t opened yet. The plant is waking up but not actively growing. If you see leaves, you’re too late.
What I actually do: I check my wisteria every few days starting in late February. When I see the buds getting fat and the bark looks less dry, I graft within the next week.
Can you graft at other times? Some people do summer grafting (late July/August), but success rates drop to about 30% in my experience. Stick with late winter if this is your first time.
Temperature matters more than dates: You want daytime temps in the 50-60°F range, nights above freezing. If it’s still getting hard freezes at night, wait another week.
What are the Tips to Follow for Successful Grafting?
You must follow proper tips and techniques to get the best grafting results. Here are some essential tips for successful grafting:
- Select Healthy Plants: Begin with healthy rootstock and scion wood from disease-free wisteria plants. Healthy plants will establish successful graft unions and thrive after grafting.
- Choose Compatible Varieties: Ensure compatibility between the rootstock and scion varieties. Choosing compatible varieties increases the likelihood of a successful graft union and promotes healthy growth.
- Timing is Key: Graft wisteria during the dormant season in late winter or early spring. Grafting during this period promotes optimal healing and integration of the scion with the rootstock.
- Proper Alignment: Align the cambium layers of the scion and rootstock as precisely as possible. Proper alignment ensures effective nutrient exchange and promotes graft union formation.
- Use Sharp Tools: Use sharp and clean grafting knives to smooth cuts on the rootstock and scion wood. Clean cuts promote faster healing and reduce the risk of infection.
- Secure Graft Union: Secure the graft union with grafting tape to firmly hold the scion on the rootstock. Proper support ensures stability and facilitates successful healing of the graft union.
- Protect Graft Union: Apply grafting wax to prevent moisture loss and infection. Cover the graft union with wax. It will create a protective barrier and promote healing.
- Provide Optimal Conditions: Place grafted wisteria plants in a humid environment with indirect light to promote healing and growth. Protect the plants from extreme temperatures and drying winds.
- Monitor Progress: Regularly monitor the graft union for signs of healing. Look for any signs of stress or disease and take appropriate action.
How to Care for Your Grafts?
The wisteria provides attentive care and implements appropriate maintenance practices. Here are some tips for grafting the Wisteria:
- Maintaining consistent soil moisture levels is important for establishing grafted Wisteria. Implement a watering regimen that strikes a balance and ensures optimal hydration.
- Incorporate organic amendments into the soil. It will enhance nutrient availability and support plant health.
- Besides the basic pruning tasks, adopt proactive pruning practices to shape the growth of your grafted wisteria.
- Shield your newly grafted wisteria plants from adverse weather conditions, pests, and diseases.
- Regularly monitor the graft union for signs of healing and growth. Keep a keen eye for indicators such as swelling, budding, or callus formation.
Month-by-Month: What to Actually Expect After Grafting
Month 1 (Grafting month – usually late Feb/March)
Your job:
– Check daily that the tape hasn’t slipped
– Make sure it’s not drying out (if you see the scion looking wrinkly, add a humidity tent)
– Leave it alone otherwise—no fertilizer, minimal watering
What the plant is doing: Forming callus tissue to connect the scion and rootstock.
Months 2-3 (April-May)
Your job:
– Watch for new growth on the scion
– Remove any shoots growing from below the graft
– Start watering normally once you see new leaves (before that, keep soil just slightly moist)
What the plant is doing: If the graft took, you’ll see buds swell and leaves emerge. The union is getting stronger.
Months 4-6 (June-August)
Your job:
– Water regularly (1 inch per week if no rain)
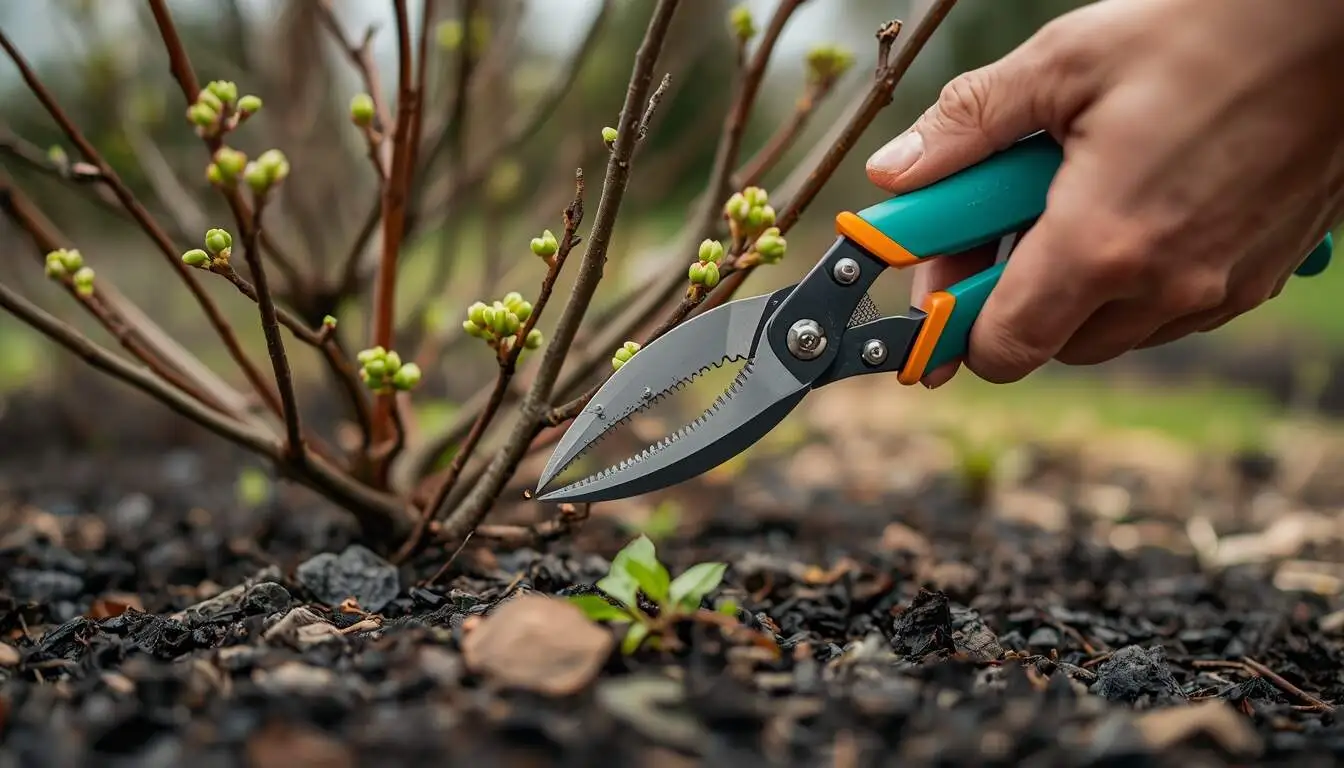
– Remove the grafting tape at week 8-10
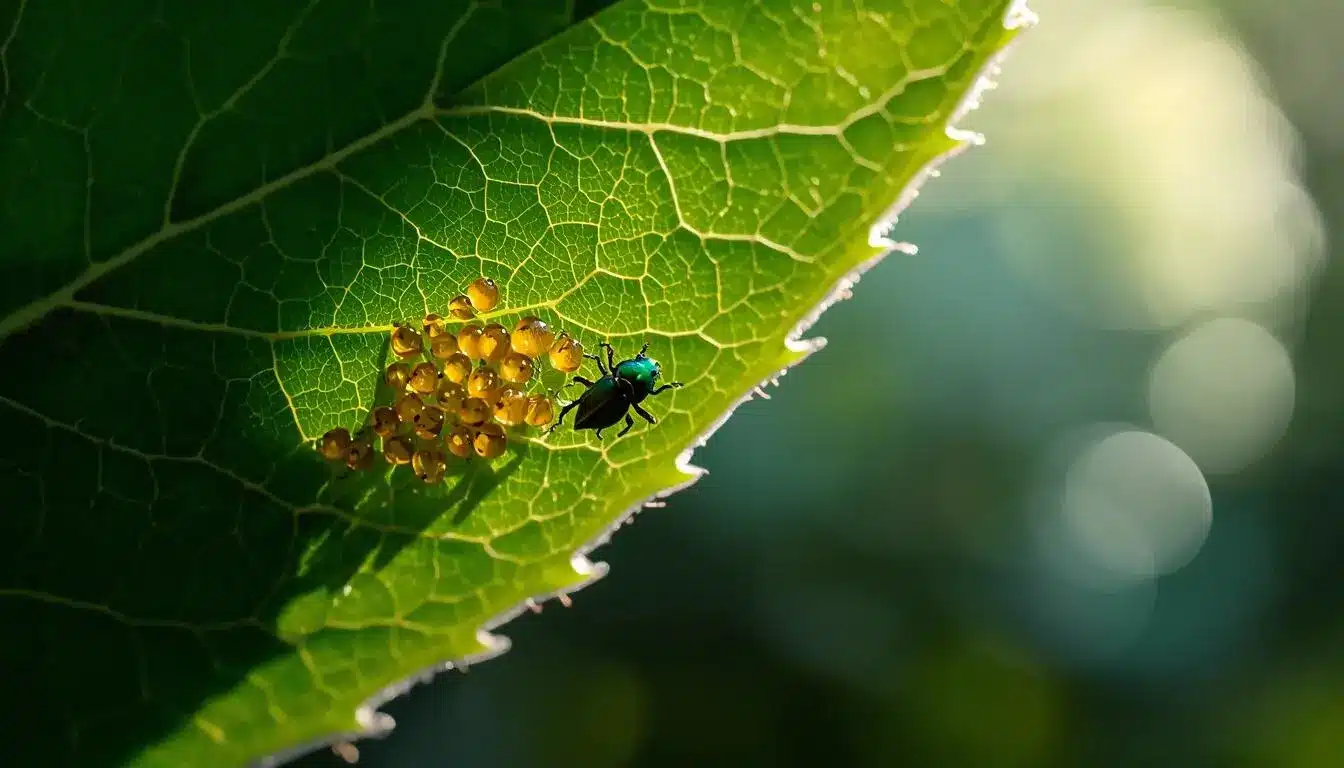
– Watch for pests (aphids love new wisteria growth)
– Let the wax weather off naturally
What the plant is doing: Growing new stems and leaves. Won’t flower this year—that’s normal.
Months 7-9 (September-November)
Your job:
– Reduce watering as growth slows
– Don’t fertilize after August
– Let the plant go dormant naturally
What the plant is doing: Hardening off for winter. Leaves will yellow and drop.
Year 2 Spring
Your job:
– Start normal wisteria care (full sun, monthly fertilizer during growing season)
– Prune to shape if desired
What the plant is doing: Should grow vigorously now. Still probably won’t flower, that usually comes in year 3.
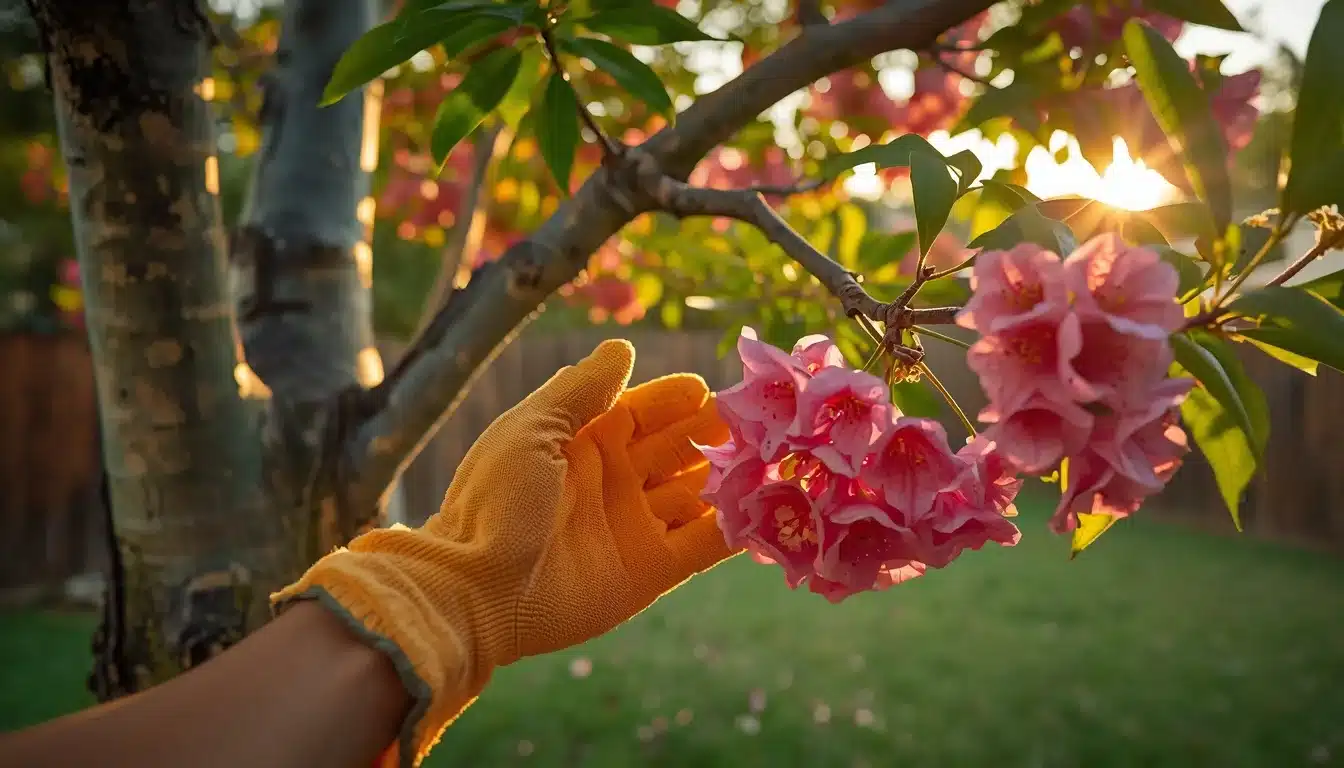
Year 3 Spring
What to expect: This is typically when you get your first blooms. Don’t panic if you don’t; some grafted wisteria take 4 years.
Real talk: My first successful graft didn’t bloom until year 4. My most recent one bloomed in year 2. It varies. The graft I made from my grandmother’s wisteria? Just flowered for the first time this spring (year 3), and seeing those same purple blooms in my yard made all the failed attempts worth it.
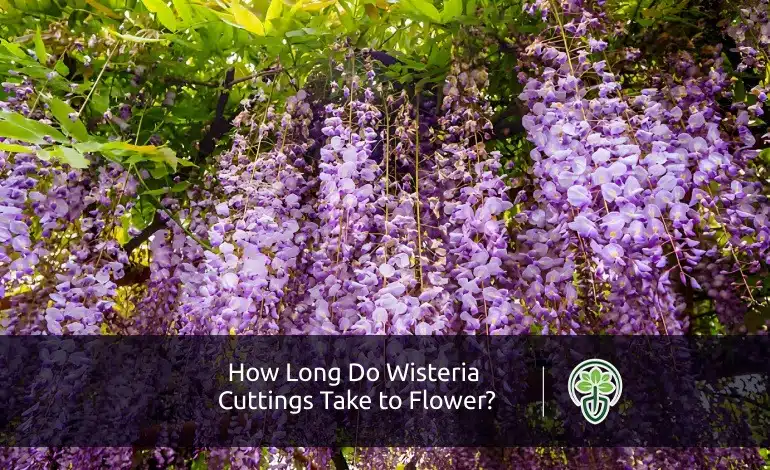
Comparing bloom times: Grafted wisteria typically flowers in years 2-4, which is faster than most other propagation methods. Wisteria started from cuttings usually takes 3-5 years, though this depends heavily on the age of the original plant and how mature the cutting was. If you’re weighing which method to use based on how quickly you’ll see blooms, check out our detailed breakdown of flowering timelines for wisteria cuttings.
When Things Go Wrong (And How to Fix Them)
Problem 1: The scion shriveled up within 2 weeks
What happened: It dried out before the graft union formed.
Why: Either the cambium layers didn’t align, or there wasn’t enough moisture around the graft.
Fix for next time:
– Create a humidity tent: Put a clear plastic bag over the whole graft. Poke 3-4 holes in it for air. Remove after 4 weeks.
– Make sure your cuts are perfectly smooth; rough cuts don’t heal well.
Can you save this graft? No. Remove the dead scion and try again with a fresh one.
Problem 2: The graft looked good for 6 weeks, then the scion died
What happened: The union was partially formed, but not strongly enough to support growth.
Why: Usually, incomplete cambium contact. Maybe 50% of the surfaces touched, but not 100%.
Fix for next time:
– Take more care aligning the cambium layers. They need to match up on at least one side completely.
– Make sure your scion and rootstock are similar diameters. If one is twice as thick as the other, alignment is harder.
Can you save this graft? No, but your rootstock is fine. Try again next year.
Problem 3: New growth appeared, then everything rotted
What happened: Infection got into the graft union.
Why: Either the knife wasn’t sterile, or water got trapped under the tape.
Fix for next time:
– Sterilize your knife between EVERY cut, not just at the beginning.
– Don’t wrap the tape so tight that water can’t escape. It should be snug but not strangling.
– Apply wax more generously, cover all exposed wood.
Can you save this graft? If you catch it early (first sign of dark spots), you can try removing the tape, cleaning the area with diluted hydrogen peroxide, and re-wrapping. Success rate is maybe 20%. Usually better to start over.
Problem 4: Graft succeeded but growth is really slow
What happened: Probably nothing wrong. Grafted plants often focus on healing in year one, growing in year two.
Why: The plant is putting energy into strengthening the union, not making leaves.
Fix: Be patient. Give it good water and some balanced fertilizer (10-10-10) in spring. You should see better growth in the second year.
Problem 5: Rootstock is sending up shoots below the graft
What happened: This is normal. The rootstock wants to grow.
Why: You wounded it, and it’s trying to recover by sending up new growth.
Fix: Cut these off as soon as you see them. If you let them grow, they’ll steal energy from your graft. Check weekly and snip any shoots coming from below the graft union.
Final Thoughts
Grafting is an effective technique for propagating and enhancing wisteria plants. Select healthy rootstock and provide ideal growing conditions for your Wisteria. Following the steps and instructions, you can graft wisteria and enjoy the cascading blooms in your garden.
Questions People Actually Ask Me
Is this really worth the effort?”
Depends on why you’re doing it. If you have a wisteria with sentimental value or truly special blooms, absolutely. If you just want wisteria in general, no—buy one. I’ve spent maybe 20 hours total over 4 years grafting wisteria, with a 60% success rate. That’s not bad, but it’s also not something I’d do just for any random plant.
What if I’ve never grafted anything before?
Start with one graft. Expect it might fail. That’s fine, you’ll learn what went wrong and do better on attempt #2. My first graft failed completely. My second one barely worked. By number five, I had a feel for it.
If you want to practice first, try grafting tomatoes (same technique, much faster results—you know in 2 weeks if it worked).
Can I graft wisteria in summer?
Technically yes, but your success rate drops to maybe 30%. Summer grafting (called “budding”) works better for stone fruits than woody vines like wisteria. Stick with late winter unless you’re experienced.
Should I just grow wisteria from seeds instead of grafting?
Only if you’re patient and don’t care about flower color. Wisteria grown from seed takes 7-15 years to bloom (versus 2-3 for grafted plants), and there’s no guarantee you’ll get the flower color or growth habit you want. Seeds inherit traits from both parent plants randomly. That said, if you enjoy the long game and want to see what nature creates, starting wisteria from seed is straightforward and nearly foolproof for germination. I’ve done both, grafting when I want to replicate a specific plant, and seeds when I’m just curious.
My graft took, but hasn’t bloomed in 3 years. What’s wrong?
Probably nothing. Some wisteria varieties are just slow to flower, even when grafted. Questions to ask:
– Is it getting 6+ hours of sun? They won’t bloom in shade.
– Are you over-fertilizing? Too much nitrogen = leaves but no flowers.
– Did you graft a really young scion? If the wood you grafted was from a plant that had never bloomed, it might still be immature.
Give it until year 5 before worrying. After that, it might be a dud.
Does it matter what species I use for rootstock?
Sort of. Best results: graft Chinese wisteria onto Chinese wisteria rootstock, Japanese onto Japanese. Can you cross them? Yes, and it usually works, but you get slightly lower success rates (maybe 10-15% lower). American wisteria is trickier—less compatible with Asian species.
Why did my graft bloom a different color than the parent plant?
That’s not your graft—that’s a shoot coming from below the graft union (from the rootstock). Cut it off. The graft itself will always match the scion/parent plant.
How long until I can transplant the grafted plant?
Wait a full year after grafting. The union needs to be rock-solid before you stress it with transplanting. I wait 18 months to be safe.