How to propagate azaleas: Step-by-Step Guide for Beginners
One flowering shrub that I really love is the Azalea. Not only do they contribute splendid colors to the garden, but they are also quite easy to grow once you learn a few essentials. One of the most gratifying skills I have acquired is how to propagate Azaleas, multiplying a single plant into countless more.
In this guide, I will explain to you the basic propagation methods I have personally tested so that you can propagate Azaleas with ease.
Can You Propagate Azaleas?
Of course! Propagation of Azaleas is quite easy and appealing, especially for those looking to share or grow more of a particular strain. This is a very efficient method to broaden your garden without costing a fortune.
As per the North Carolina State Extension, Azalea propagation is best performed between late spring to early summer when the plant is thriving. Evergreen Azaleas tend to root from cuttings more easily than the deciduous types. They often respond better to the propagation method called layering.
Propagation Methods for Azaleas (Overview)
Azaleas can be propagated in two primary ways. Here is a short summary so that you can make an informed decision on which method fits you best.
- Stem Cuttings
-
- Best for evergreen azaleas.
- Quick results.
- Best in summer or early fall.
- Layering
-
- Works well for deciduous azaleas.
- Takes longer but is highly successful.
- Best in spring or fall.
Every method has its perks. Let’s go into the details.
How to Propagate Azaleas from Cuttings?
This is my preferred strategy for evergreen azaleas. It’s straightforward and doesn’t require much equipment.
Here’s how I do it step-by-step:
Choosing The Right Stem
- Take a semi-hardwood stem from this season’s growth.
- Avoid flowers or buds; only take healthy green growth.
Taking The Cutting
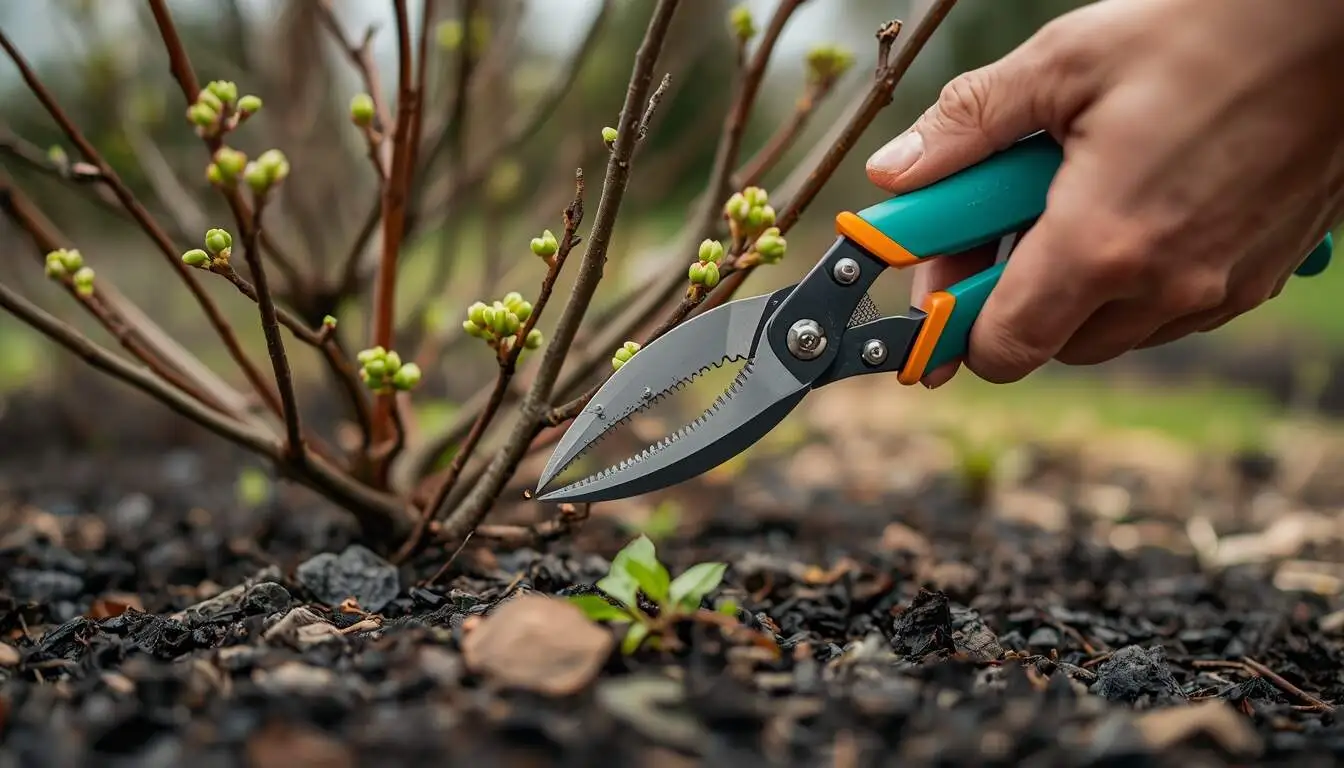
- Use pruning shears to take a 4 to 6-inch piece.
- Remove the lower leaves from the 2-3 leaves remaining at the top.
Preparing The Cutting
- Scrape lightly the bottom inch of the stem so the green layer is exposed.
- The end should be dipped in rooting hormone. It claims to increase the success rate by 70%.
Source: University of Florida IFAS
Planting The Cutting
- Place in a pot containing a 50:50 mix of perlite and peat moss that is moist.
- Water extremely well and cover the entire container with a plastic bag.
Giving It The Right Conditions
- Put it in the region of bright indirect sunlight.
- Ensure the soil stays moist, not soggy.
- Typically, roots will form within 6-8 weeks. If you want to ensure the highest success rate, following a detailed guide on stimulating root growth in woody ornamentals can help you avoid common propagation failures.
How to Propagate Azaleas by Layering?
Laying is probably the most straightforward method of propagating Azaleas if you are willing to wait, and can be done directly in the ground. Here is how I carry out the procedure in my garden:
Choose a Low Branch
To start the process, select a long and healthy branch of the plant for propagating. Make sure that the branch is flexible and close to the ground.
Get the Location Ready
- Gently scrape the bark on the part that is going to touch the soil.
- Add some rooting hormone as you see fit. It is not a must, but it tends to increase the success rate.
Pin It Down
- Perform a 180° bend on the limb and cover the scraped portion with soil.
- Keep the covered part held down to the ground with a U-shaped wire or stone.
Water And Wait
- Maintain the zone watered to avoid dryness.
- The formation of roots will usually take between 3 and 5 months.
Cut And Transplant
After a couple of months, check if the branch is developing root growth under the soil. If it has rooted, detach it from the plant. Now, it is time to transplant it into a pot or another place prepared for planting.
How to propagate azaleas in water?
Propagating azaleas in water is a simple and rewarding way to grow new plants from your existing ones. This method allows you to watch the roots develop and gives you beautiful new azalea plants without spending money on nursery stock.
What You’ll Need
Before starting, gather these basic supplies:
- Healthy azalea plant for cuttings
- Clean, sharp pruning shears or scissors
- Glass jar or clear container
- Room temperature water
- Rooting hormone (optional but recommended)
- Bright, indirect light location
Water Propagation Process
Select Your Cuttings
Choose healthy stems that are 4-6 inches long with several sets of leaves. The cutting should come from new growth that’s green and pliable. Avoid any stems with flowers, buds, or signs of disease.
Prepare the Cuttings
Using clean, sharp shears, cut at a 45-degree angle just below a leaf node. Remove the lower leaves, leaving only 2-3 sets at the top. This prevents leaf rot and directs energy toward root development.
Apply Rooting Hormone (Optional)
While not required, dipping the cut end in rooting hormone powder increases your success rate significantly. Tap off any excess before placing in water.
Place in Water
Fill your container with room temperature water and place the cutting so that at least two nodes are submerged. The remaining leaves should stay above the waterline. Position the container in a spot with bright, indirect light – avoid direct sunlight, which can overheat the water.
Maintain Your Cuttings
Change the water every 3-5 days to keep it fresh and prevent bacterial growth. This also ensures adequate oxygen reaches the developing roots. Within 4-6 weeks, you should see white roots emerging from the nodes.
Tips for Successful Azalea Propagation
I have learned several tips and tricks about the successful propagation of Azaleas through trial and error in my gardening experience. These tips will be greatly beneficial for any beginner trying to propagate these flowering shrubs:
- Use Clean Tools: Tools that aren’t clean are highly likely to pass on disease. For me, dirty tools are never an option. So I clean my pruners with rubbing alcohol before and after the process.
- Humidity is Key: Humidity is a key component in the propagation of Azaleas. These cuttings need to be placed in a sealed, moist environment. A bag or a plastic dome does wonders.
- Avoid Direct Sunlight: You must protect your little cuttings from direct sunlight. Excessive sunlight will dry out your cuttings. A balanced and filtered light is the ideal environment.
- Be Patient: Wait and don’t check regularly. For most cases, checking will hinder progress, and for rooting, you want the cutting to pull rather than tug too often, so check for new leaf growth, which is a sign.
Common Mistakes to Avoid
When I first started propagating azaleas, I made plenty of small mistakes that added up. Luckily, you don’t have to repeat them. Here are some of the most common pitfalls I’ve encountered and seen others make, along with simple ways to avoid them.
Using the Wrong Type of Cutting
A lot of people use either too soft or too woody stems. Very young green stems wilt fast, while old woody branches resist rooting. The best cuttings come from semi-hardwood growth, which is flexible but firm, usually from the current season’s mid-growth.
Skipping Rooting Hormone
You can root azaleas without hormones, but your success rate drops sharply. Rooting hormone helps the cutting form roots faster and reduces rot risk.
Overwatering the Soil
This is one of the easiest mistakes to make. When the soil is soggy, the stem can rot before it roots. The growing mix should be moist but not wet, like a wrung-out sponge.
Not Providing Enough Humidity
Without high humidity, azalea cuttings dry out fast. If you skip the plastic bag or dome, your cuttings are much more likely to wilt and die. Always create a mini greenhouse effect with a plastic bag and a couple of sticks to hold it up.
Cuttings Placed In the Direct Sun
A lot of novice gardeners have the misconception that extra sun leads to faster growth. Direct light can dry out the cutting and cook it. Go for strong indirect light, like a north-facing window.
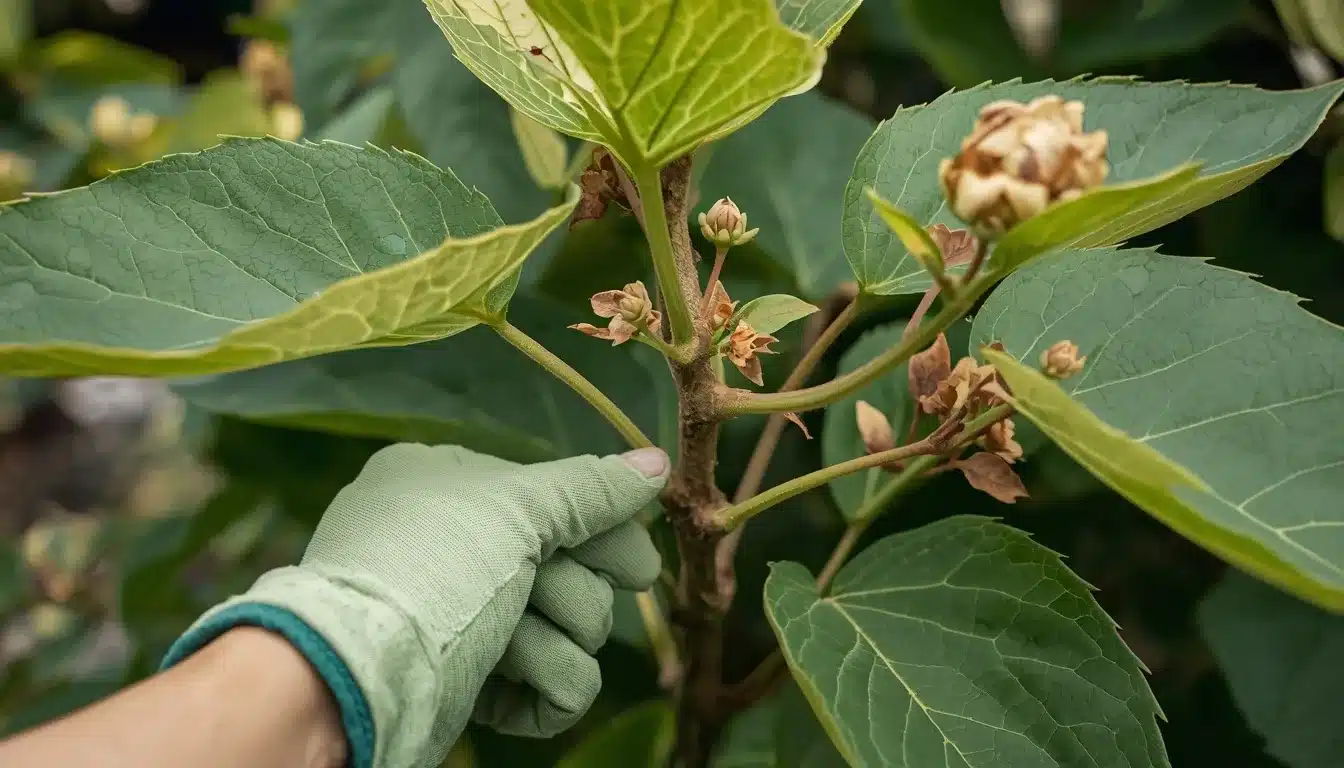
Ignoring Mold Or Fungal Growth
White fluff or black splotches on the soil surface or cutting indicate mold or fungus. This tends to occur due to a lack of air and too much watering. So, open the plastic cover once every day for a few minutes to allow circulation of fresh air.
Tugging On The Cutting Too Soon
I know it’s very hard to resist the urge to scratch the surface to see if roots have started forming. However, pulling on the stem will break delicate new roots. Look for new leaf buds or swelling at the base as better indicators. Six to eight weeks is the expected duration.
Planting In The Wrong Soil
Azaleas prefer the soil to be mildly acidic and well-draining (pH 4.5-6.0). Yellowing foliage, stunted growth, or death can happen quickly after transplanting a controlled cutting into alkaline or heavy clay soil. Supercharge the new bed with peat moss or pine bark, which helps in lowering the pH.
Aftercare for Newly Propagated Azaleas
It’s important to slowly transition your Azaleas once they start developing roots.
Acclimatizing to Outdoor Conditions: Harden the plant off outdoors by removing the plastic bag for a few hours each day.
Repotting With Care: Once the roots are a couple of inches long, remove them from the nursery pot and place them into a larger pot containing acidic, well-drained soil with a pH of 4.5-6.0.
Light Fertilizers: After 2-3 weeks, increase watering and apply balanced slow-release fertilizer for acid-loving plants.
Watch for Plant Stress: Moist and shaded conditions until fully recovered. The aforementioned symptoms could result from transplant shock.
Final Thoughts
To be honest, propagating azaleas is among the most gratifying aspects of gardening for me. It’s budget-friendly, calming, and gives you a sense of pride. Whether you go with cuttings or layering, just follow these simple steps, and you’ll have new azaleas blooming in your garden in no time.
Alternatively, if this is your first attempt at gardening, then one cutting is a great starting point. You’ll soon find yourself proudly gifting homegrown Azaleas to your neighbors.
Read More:
FAQs
When is the best time to propagate azaleas?
The best time to propagate azaleas is late spring to early summer. That’s when the plant is actively growing, and the stems are at the ideal semi-hardwood stage for cuttings.
How long does it take for azalea cuttings to root?
Azalea cuttings usually take about 6 to 8 weeks to develop roots. Some may take longer depending on temperature, humidity, and light conditions. Be patient and avoid disturbing the cuttings during this time.
Can I propagate azaleas in water like other plants?
No, azaleas don’t root well in water. They prefer a moist, well-draining medium like a mix of perlite and peat moss. Water-only propagation often leads to stem rot before roots can form.