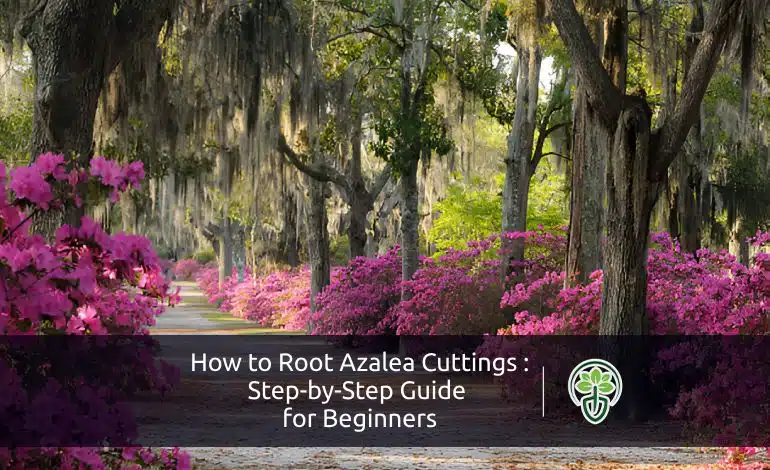
How to Root Azalea Cuttings: Step-by-Step Guide for Beginners
Are you in love with Azaleas? Those vibrant, beautiful flowers can make a special place in anyone’s heart. It is hard to resist the temptation of having more of these flowers in your garden. If you want to multiply the existing Azaleas, rooting Azalea cuttings is a fantastic method to do it. While there are several ways to multiply these flowering shrubs, using stem starts is often the most accessible for home gardeners. It takes less time and needs less effort. A lot of gardeners choose azaleas to improve their outdoor spaces because they have bright flowers and leaves that stay green all year.
This step-by-step guide is great for people who have never grown azaleas before but want to learn how to do it. By doing this, you can save your favorite varieties and grow your garden. So, without any delay, let’s explore how to root Azalea cuttings.
Why Rooting Azalea Cuttings is Beneficial?
Well, first of all, rooting Azalea is the easiest method of propagating this flowering plant. There are also some other key benefits of growing Azalea from cuttings that make this method popular and desirable. Here are some factors:
- Cost-Effective: Propagating Azalea from the cuttings allows you to save your money from buying another plant. The process is also cost-free! So, you can build a cost-effective garden with Azalea propagation using this method.
- Preserve Desired Traits: This method ensures that the newly grown plant has the same characteristics as the original one. It helps you preserve your favourite Azalea variant.
- Faster Growth: One of the key differences between growing from seeds vs cuttings is this method is way faster than the other one in growing Azaleas. Fast growth means the plant grown from a cutting will bloom faster.
- High Success Rate: Rooting cuttings is overall more reliable and more likely to succeed compared to seed propagation.
- Maintain Plant Health: The gardeners propagate Azalea from healthy plants, ensuring the new plants are strong and well-growing.
- Sustainable Gardening: It helps gardeners practice sustainable gardening, reducing the demand for commercially grown Azaleas and their transportation.
- Great for Sharing: Sharing is caring, right? You can share as many plants as you want since there is no cost.
Best Time to Take Azalea Cuttings
Late spring to early summer is considered the best time to take Azalea cuttings. This is the time when the plant is growing actively. You can find the stems semi-hardwood in this season, ensuring the perfect balance between flexibility and maturity. This state is crucial for the success of the propagation. In a nutshell, this season is the best time to propagate Azaleas as it ensures the mother plants are healthy and vigorous.
Then the climate and region are also an important factor. It has a significant impact on the success rate as temperature, humidity, and soil conditions are some of the deciding factors.
Tools and Materials You’ll Need to Root Azalea Cuttings
You will need some tools and materials to grow Azaleas successfully. Here is the list:
- Pruning Shears: You need clean and sharp shears to cut precise and healthy cuttings from the selected plant.
- Rooting Hormone: Using a rooting hormone (powder or gel) will increase the chances of your success, stimulating root growth.
- Soil Mix: You can make the best soil mix for rooting Azalea by combining peat moss and perlite or vermiculite to provide a proper rooting environment.
- Pots / Containers: Make sure the pot or container you choose for your cuttings has at least two draining holes to avoid waterlogging.
- Spray Bottle: You need a spray bottle to mist the cutting and maintain humidity levels for root growth.
- Plastic Bags / Humidity Domes: Used to cover the cutting to lock in humidity.
- Mulch: Use mulch to preserve moisture in the soil.
How to Root Azalea Cuttings?
This is a long process, so we have made a step-by-step guide for you. It will help you follow through the steps and root your cutting easily.
How to Select Healthy Azalea Stems for Cutting?
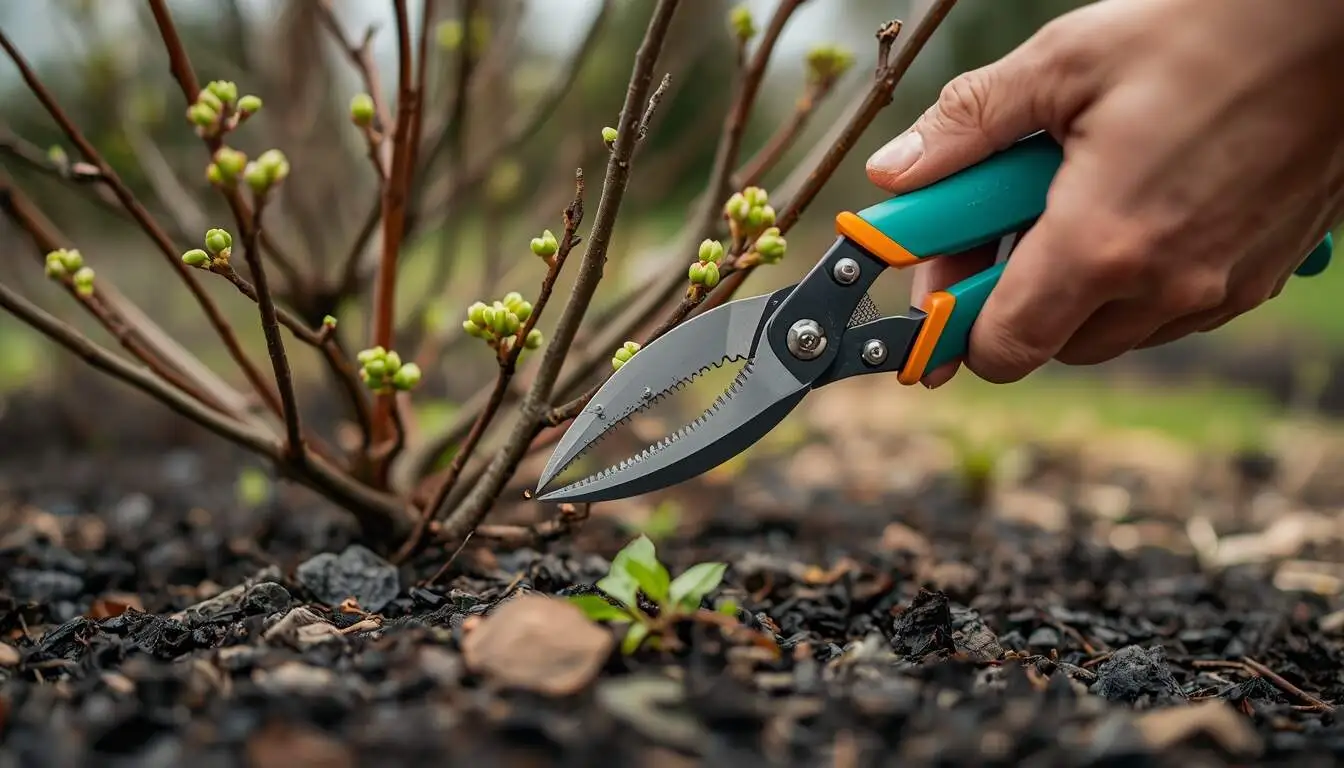
As we mentioned earlier, a semi-hardwood cutting is the best for the rooting process. So, in the right season, look for a flexible but mature stem. The stem must be healthy and disease-free. Cut a 4 to 6-inch long portion from the selected stem with a couple or two leaves.
Preparing and Trimming the Cuttings
Use a sharp pruning shear or scissor to cut the stem just below a leaf node. Like any other cuttings, it will start to root from the node. Ensure the shear is sterilized to avoid any disease or infection in the future.
Then, it’s time to trim the cutting. Remove the lower leaves and keep some leaves on the top. It will reduce water loss and allow the cutting to focus on root development.
Using Rooting Hormone for Better Success
Rooting hormones have three main advantages. First, it stimulates root growth. Second, it increases the chance of your success. Lastly, it reduces the chance of rotting of the cutting. So, you must use a rooting hormone. Dip the bottom of the cutting, where the root growth is expected in the hormone, and the cutting is ready to be planted.
Planting the Cuttings and Ensuring Proper Depth
Now, plant the cutting into the soil mix you prepared before. Maintain a depth of around an inch or two for the best outcome. Firm the soil around the cutting to ensure stability.
Maintaining Moisture and Creating Humidity for Root Growth
You must keep the soil mix constantly moist to support the Azalea cutting. So, regularly watering is very important.
Humidity is another key factor for Azalea cutting growth. Use a spray bottle to mist the cutting regularly to ensure a high humidity.
Caring for Azalea Cuttings After Planting
Planting the cutting is not the end, you have to take special care of your Azalea cutting for the best outputs. Here are the elements you should take special care of:
Watering and Light Requirements for Root Development
As we said earlier, the soil has to be moist all the time. But be careful to avoid waterlogging, even for an hour or so. It can be fatal for the cutting and cause root rotting. That’s why you need a well-drained potting mix and a container with draining holes.
The Azalea cutting also needs lots of sunlight. But don’t put it under direct sunlight; they are not yet strong enough to handle direct sunlight. Place the cutting in a bright place with lots of indirect sunlight.
Temperature and Humidity Tips for Optimal Growth
A high humidity is essential for the cuttings to root. To maintain it, cover the container with a plastic bag or use a humidity dorm. However, make sure that the covering doesn’t touch the leaves to save them from drying out. Also, maintain a temperature of 18°C to 20°C for an ideal growth rate.
How Long Does It Take for Roots to Develop
Keep an eye on the cutting’s growth and development. After 4 to 8 weeks, check for root development of the cutting. You can do it by tugging on the cutting gently. If you feel any resistance, it is a sign of root development.
Common Mistakes to Avoid When Rooting Azalea Cuttings
Since this is a lengthy process, there are many scopes of mistakes. It’s alright to make mistakes in the first few trials. Even experienced gardeners sometimes make mistakes here and there. To help you avoid any mistakes, we have made a list of the common mistakes gardeners make while rooting Azalea cuttings.
1. Using Improper Cuttings
Gardeners often take cuttings from weak, diseased, or overly mature woody stems. It reduces the chances of your success in rooting the cutting. Instead, using semi-hardwood provides a pretty high chance of success.
2. Skipping Rooting Hormone
Using rooting hormones is not a mandatory step, so most of people skip it. It results in slow root growth and even reduces the chance of successful rooting dramatically. Using the hormones encourages fast and robust root growth.
3. Overwatering or Underwatering
Both overwatering and underwatering can be fatal for the cuttings. Overwatering will cause waterlogging, resulting in root rotting and death of the cutting. On the other hand, underwatering will dry out your Azalea cuttings, also resulting in death. So, maintain a balance and ensure the water is properly drained.
4. Using Incorrect Soil Mixes
Using a heavy and too compact soil mix can create several issues. First of all, it can become the biggest obstacle for growing roots. Also, it will hold onto water, and the soil will not be drained properly. So, make sure to use a proper soil mix to let the roots grow properly.
5. Not Maintaining Adequate Humidity Levels
Another common mistake gardeners often make while rooting Azalea cuttings is ignoring humidity levels. If you fail to provide proper humidity, the cutting will dry out and die. Using spray bottles or humidity doms can be greatly helpful in maintaining high humidity.
6. Ignoring Required Temperature
Being careless about the required temperature for rooting Azalea cuttings can fail. Placing it in a place too hot or cold will reduce its ability to root. In extreme cases, it can be fatal for the cuttings.
Transplanting Azalea Cuttings: What to Do Once They’ve Rooted
After 4-8 weeks, when your cuttings finally root, it is time to shift them to a new place for proper growth. This is a sensitive spot where you need to be careful not to damage the cuttings while transplanting the Azalea. Follow the steps below to shift the cuttings to a new home:
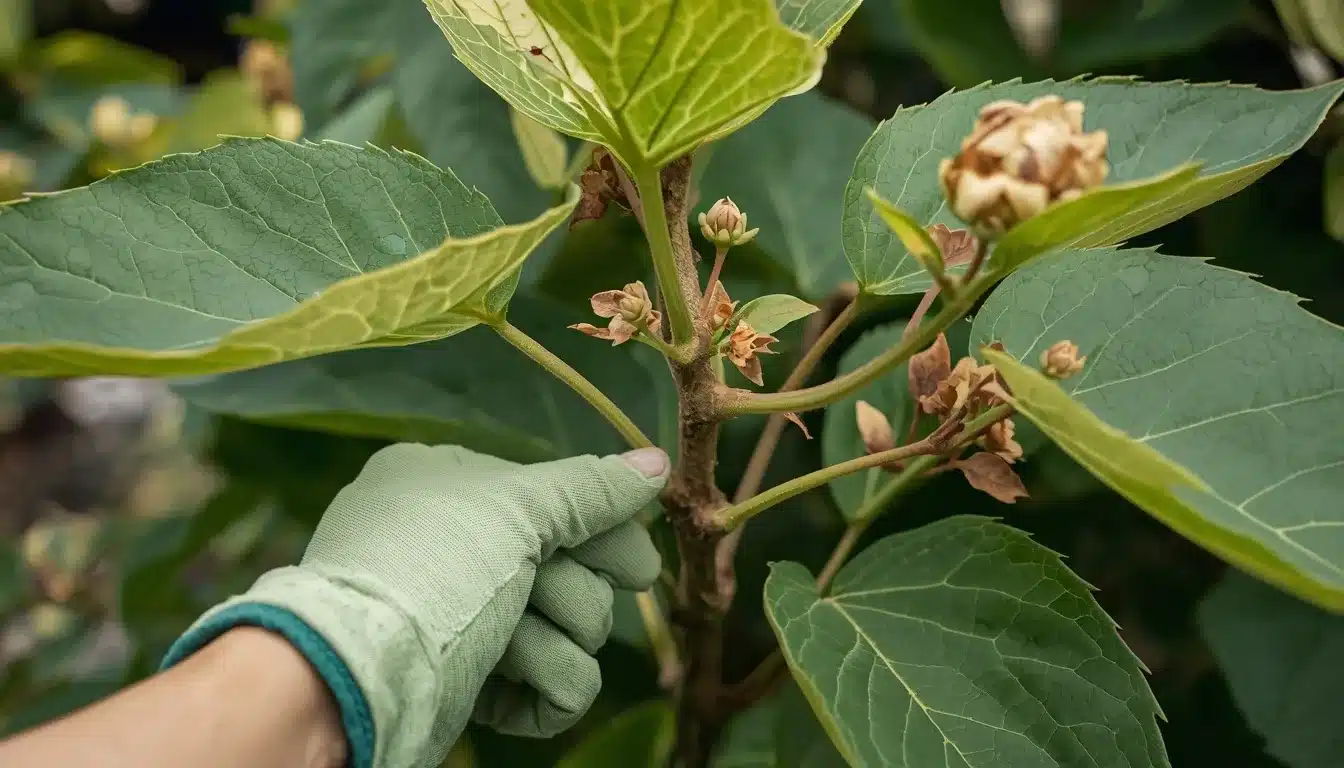
Signs Your Azalea Cuttings Are Ready for Transplant
Your baby plants will show you signs when they are ready to transplant. Here are the positive signs that mean your Azalea is ready to shift:
- Visible root development
- New leaf growth
- A healthy and stable outlook
- Noticeable growth in size
- No signs of disease or pest
- The root ball holds together
How to Safely Transplant to a Garden or Larger Pot
Transplanting Azalea cuttings to a garden or a bigger pot is a delicate process. If not done properly, the plant may suffer transplant stress and fall weak. If it gets serious, your cuttings can even die. So, you have to be very careful while handling the transplant process.
Then, what is the safest process to transplant Azalea cuttings? Here, we have made a breakdown of the process, including post-transplant care for healthy growth, so that you can follow it easily:
- Choose the right time to plant. Early in the morning or late afternoon, when the sun is not full and the temperature is down, is the best time. Cooler temperatures reduce the stress of transplanting and keep the cuttings healthy.
- The new location should be shaded, and the soil should be slightly acidic. For containers, a mix of peat moss, pine bark, and perlite works great.
- To keep the cuttings hydrated, water them thoroughly an hour before the transplanting process starts.
- Loosen the soil of the current pot by lightly tapping the sides. Remove the cutting and hold on to the base and rootball. Be careful not to damage the roots of the Azalea cuttings.
- Place the cutting in the center of the hole in the new location or pot. Ensure that the top rootball is at the same level as the surrounding soil.
- Fill back the hole with soil and press it gently around the cutting. Ensure the soil has good drainage and there are no chances of waterlogging.
- Then, water the soil thoroughly so that the soil settles and there is enough moisture in the soil.
- Apply 2-3 inches of organic mulch around the base of the cuttings. It will help preserve moisture in the soil, prevent weeds, and regulate soil temperature.
- Make sure that the Azalea cuttings are protected from the direct scorching heat of the sun. Use cloths or a makeshift screen for a few days to keep the cuttings shaded until they settle on the new ground.
- Avoid fertilizing the Azalea cuttings immediately after transplanting. Wait till the plant shows signs of new growth
More or less, this guideline includes every significant steps and factors you need to focus on. Azaleas are beautiful and delicate flowering shrubs. Once the plants grow up, you must protect the Azalea from deer or any other animals that eat them. Also, the Azaleas are sensitive to the temperature. You need to take special care of Azaleas in winter.
Conclusion
Finally, growing azalea cuttings is a fun gardening project that lets you grow new plants while saving money and keeping your favorite types alive. You can successfully grow more beautiful azaleas if you carefully follow the steps, which include choosing healthy cuttings, making the right growing medium, and giving the plants the right amount of water and care. It may take a few weeks for roots to form, so be patient. But the benefit of having new azalea plants that are doing well is well worth the work. If you take good care of these rooted cuttings, they will grow into healthy trees that will add color to your garden for years to come.